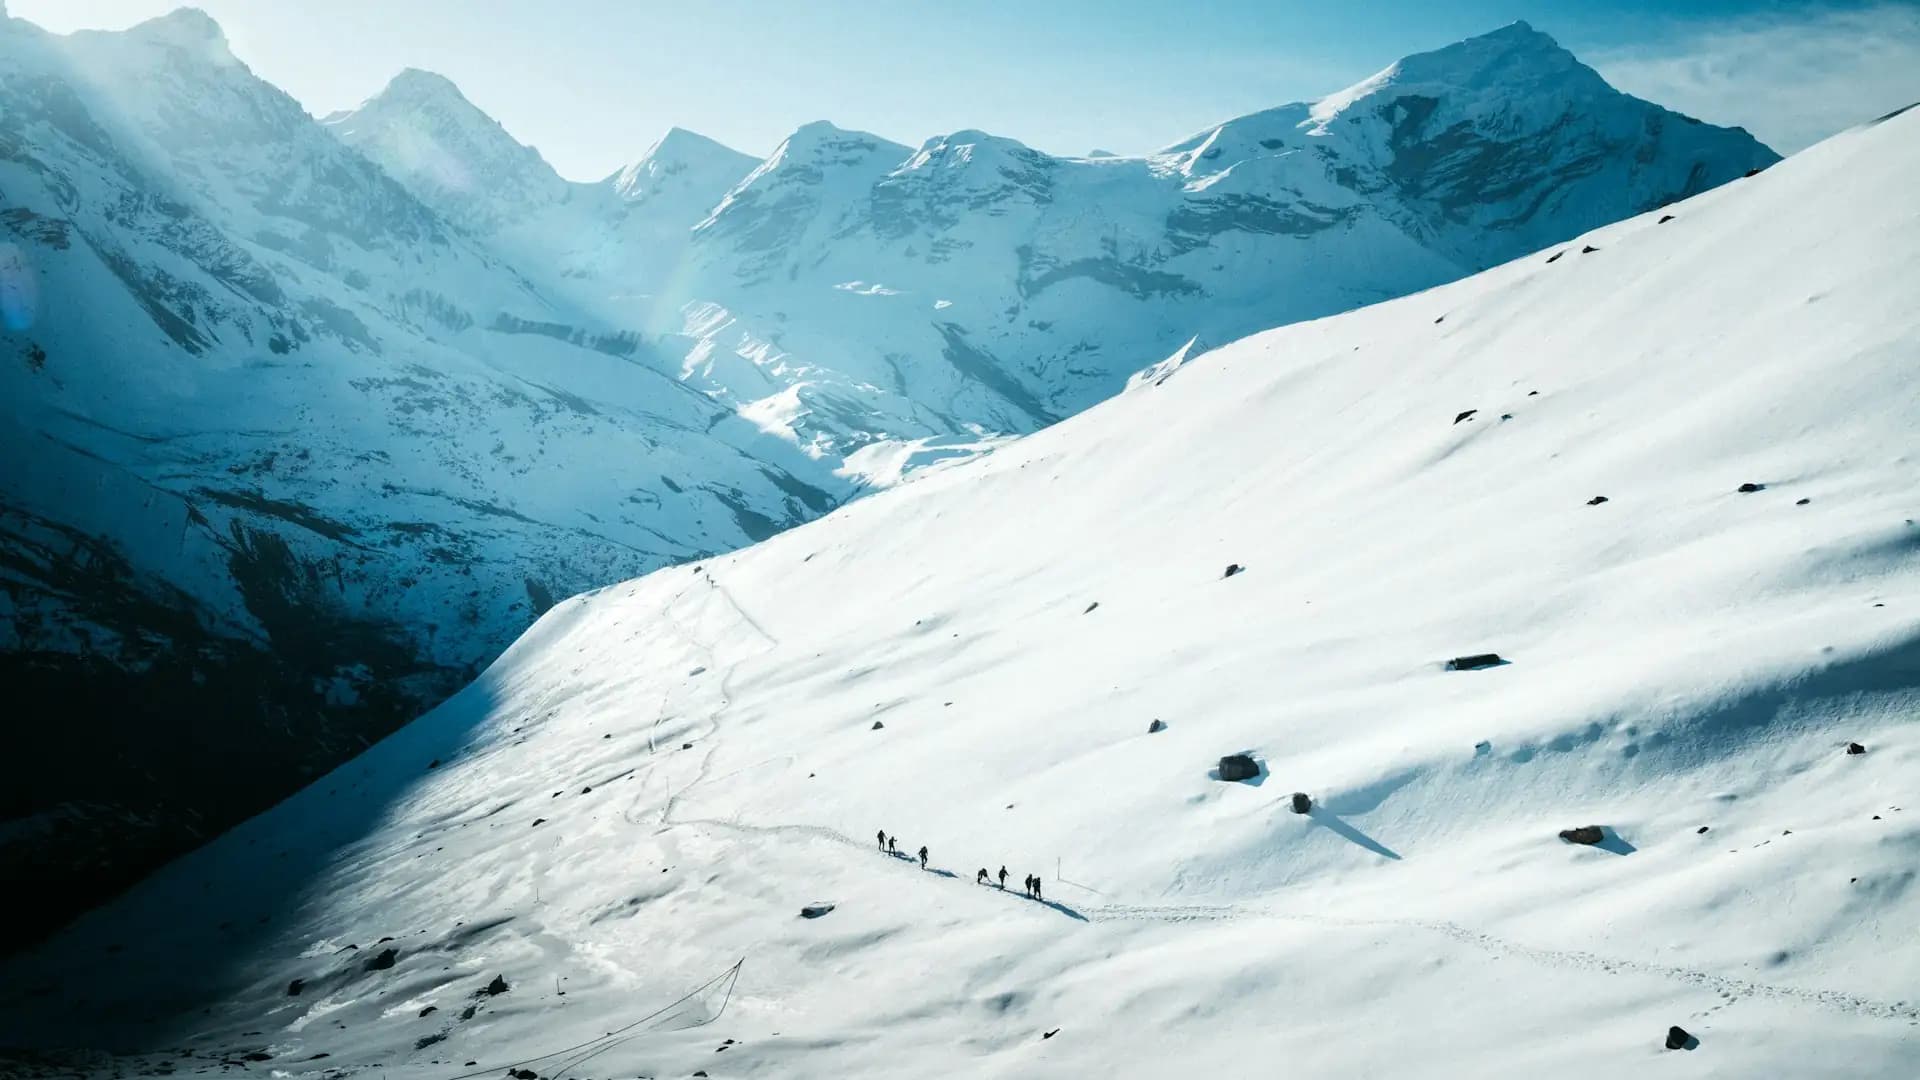
Annapurna Circuit Elevation: Complete Altitude Guide
Annapurna Circuit Elevation
No other classic trek in Nepal covers such an extreme and continuous elevation range in a single circuit journey. That's not marketing language — it's a fairly literal description of what makes the Annapurna Circuit different from almost every other trekking route in the Himalaya.
In the space of roughly two weeks, you'll walk from a low point around 760-800 meters to a high point of 5,416 meters at Thorong La Pass, then drop back down through nearly the entire range again on the other side. Very few trekking routes anywhere in the world ask your body to handle that much vertical change in a single continuous journey.
This guide exists to map that elevation profile in real detail — not just the headline numbers (lowest point, highest point), but the actual shape of the climb: how fast you gain altitude each day, where the dangerous acceleration points sit, how the descent compares to the ascent, and what all of this means practically for acclimatization, packing, and pacing.
Every elevation figure below has been checked against multiple current route descriptions, and where sources disagree — which happens more than you'd expect on a route this remote, since exact village altitudes vary by GPS measurement, edition, and operator — that range is presented honestly rather than papered over with false precision.
If you're trying to understand exactly what "5,416 meters" actually means for your body, where the trek gets genuinely hard from an altitude perspective, or how the elevation profile should shape your itinerary choices, this is built to answer that in detail.
Quick Facts: Annapurna Circuit Elevation at a Glance
Fact | Detail |
|---|---|
Lowest point (trailhead) | Besisahar, ~760-800m |
Highest point | Thorong La Pass, 5,416m (17,769ft) |
Total elevation range | Roughly 4,600-4,650m between lowest and highest points |
Key acclimatization stop | Manang, 3,540m |
Steepest single descent | Thorong La (5,416m) to Muktinath (3,760m) — roughly 1,600m in one day |
Lowest point after the pass | Tatopani, ~1,190m |
Danger zone for AMS onset | Begins around 3,000m, increases significantly above 4,000m |
Most altitude-dangerous section (not the pass itself) | The approach between Manang and High Camp |
Peaks flanking Thorong La | Khatung Kang (6,484m) and Yakawa Kang (6,482m) |
Views from the pass summit | Dhaulagiri I (8,167m) visible to the west; the Mustang valley below |
Why Elevation Defines This Trek More Than Any Other Factor
Every major decision on the Annapurna Circuit — how many days to allow, when to trek, how to pace each stage, what gear to bring — ultimately traces back to one structural fact: this route has a distinctly vertical shape. A long, steady ascent over ten to twelve days builds toward a sharp spike at Thorong La, and then a descent that covers most of the altitude loss in the first two days after the pass.
Unlike a trek that gradually climbs to a single high point and returns the same way (like Annapurna Base Camp), the Circuit spends its second half rapidly shedding almost everything it gained, on a completely different side of the massif, through a completely different climate zone.
This asymmetry — slow climb, sudden peak, fast drop — is the single most important thing to understand about this route's elevation profile, because it explains why the danger doesn't concentrate where most first-time trekkers expect it to.
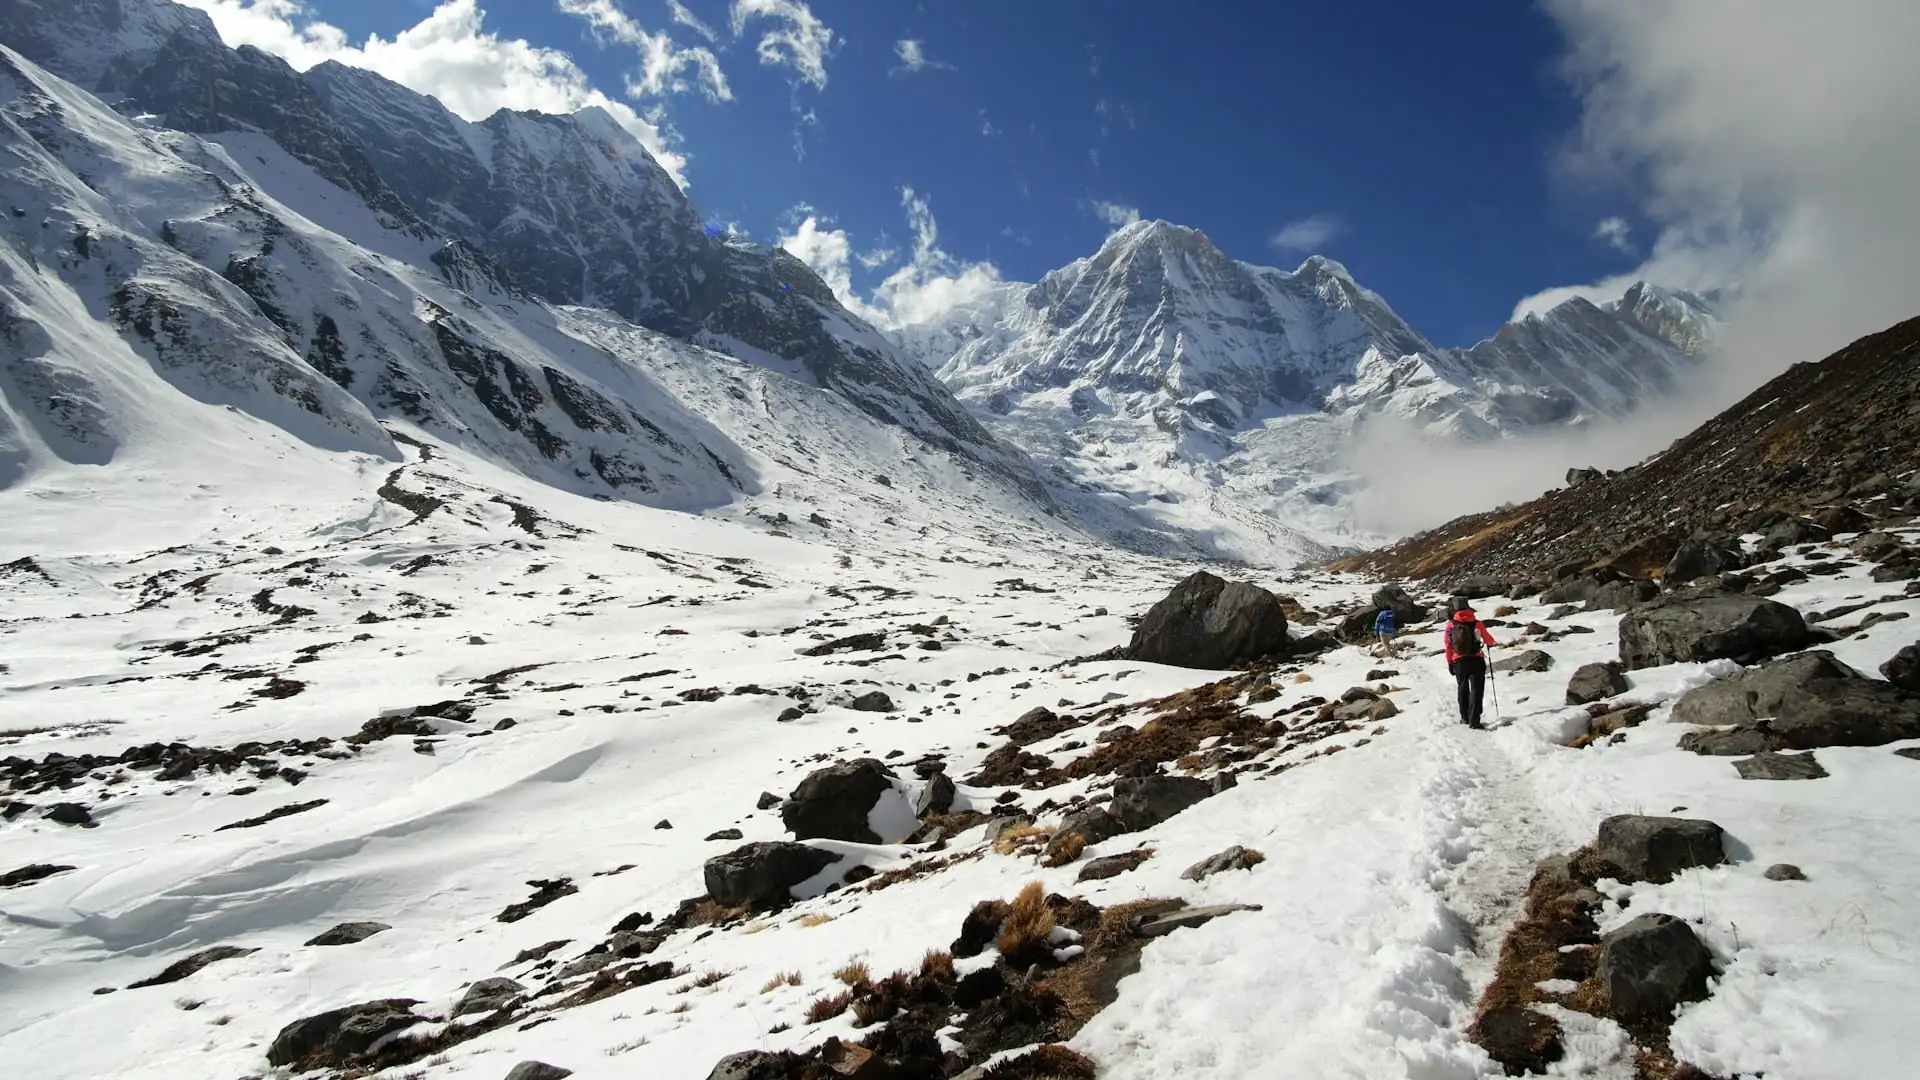
The Complete Elevation Profile: Waypoint by Waypoint
Lower Section: Besisahar to Chame
Location | Elevation | Notes |
|---|---|---|
Besisahar | ~760-800m | Traditional trailhead; road access from Kathmandu/Pokhara |
Bahundanda | ~1,310m | Early trail village |
Jagat | ~1,300m | Checkpoint village |
Dharapani | ~1,860m | Common jeep drop-off point for shortened itineraries |
Chame | 2,670m | District headquarters of Manang; where the trek really starts to feel like a high-altitude route |
This lower section is where most road-shortening happens on modern itineraries — many trekkers now begin walking from Chame or Dharapani rather than Besisahar, using jeep transport to cover this lower stretch and save several days.
Middle Section: Chame to Manang
Location | Elevation | Notes |
|---|---|---|
Chame | 2,670m | Start of steady, sustained altitude gain |
Upper Pisang | ~3,300m | Scenic higher route option, with views of Annapurna II, IV, and Pisang Peak |
Lower Pisang | ~3,200m | Easier, lower route option |
Ngawal | ~3,660m | Alternate high-route village, often combined with Upper Pisang path |
Braga (Braka) | ~3,470m | Home to the historic Braga Gompa monastery |
Manang | 3,540m | Primary acclimatization hub of the entire trek |
The Dharapani-to-Chame day marks a genuine turning point: this is where the trail begins steady, sustained altitude gain rather than the gentler grade of the lower valley, with an ascent of roughly 810 meters on this stretch alone.
High Section: Manang to Thorong La
Location | Elevation | Notes |
|---|---|---|
Manang | 3,540m | Acclimatization stop, typically with a full rest day built into the itinerary |
Tenki (near Manang) | ~3,570m | Small village passed early on the climb out of Manang |
Yak Kharka | Roughly 4,010-4,120m (sources vary slightly) | High pasture settlement; the point where trekkers' bodies begin working noticeably harder to breathe and sleep |
Letdar | ~4,250m | Intermediate stop on some itineraries, alpine terrain with sparse vegetation |
Thorong Phedi | Roughly 4,420-4,540m (sources vary slightly) | "Phedi" means "foot of the hill" — the base camp for the final pass push |
Thorong High Camp | Roughly 4,880-4,925m | Higher, closer staging point for the pass; strongly recommended over Phedi by many experienced operators for a shorter, earlier summit push |
Thorong La Pass | 5,416m (17,769ft) | The trek's highest point, flanked by Khatung Kang (6,484m) and Yakawa Kang (6,482m) |
Note on the Yak Kharka to Thorong Phedi figures: different route descriptions place these villages at slightly different elevations — Yak Kharka is variously cited between roughly 4,010m and 4,120m, and Thorong Phedi between roughly 4,420m and 4,540m — reflecting genuine measurement variation between sources rather than any single "official" figure.
What's consistent across every source is the pattern: this is the steepest, most sustained high-altitude stretch of the entire trek.
Descent Section: Thorong La to Tatopani
Location | Elevation | Notes |
|---|---|---|
Thorong La Pass | 5,416m | High point of the trek |
Muktinath | ~3,760-3,800m | A drop of approximately 1,600m from the pass in a single day — one of the steepest, fastest single-day altitude drops on any major Himalayan trekking route |
Jomsom | ~2,700-2,743m | District headquarters of Mustang; road and air hub |
Kagbeni | ~2,800m | Gateway to Upper Mustang |
Marpha | ~2,670m | Known for apple orchards and traditional Thakali architecture |
Ghasa | ~2,010m | Transition point into greener, warmer terrain |
Tatopani | ~1,190-1,200m | Lowest point on the route after the pass; known for natural hot springs |
The descent from Muktinath toward Tatopani is where the dry, windy, high-altitude terrain transforms into greener valleys and warmer surroundings — a dramatic drop that gives the body a genuine physiological break after the stress of the pass crossing.
Optional Return Section: Tatopani to Pokhara (via Poon Hill)
Location | Elevation | Notes |
|---|---|---|
Tatopani | ~1,190-1,200m | Lowest point of the return leg |
Ghorepani | ~2,860-2,875m | Gentle re-ascent after the hot springs; overnight hub before Poon Hill |
Poon Hill | 3,210m | Sunrise viewpoint, optional but hugely popular add-on |
Tadapani/Ghandruk (if continuing) | ~2,610-1,950m | Descending back toward the trailhead |
Nayapul | 1,070m | Final trailhead, drive back to Pokhara |
Not every itinerary includes this southern loop — many trekkers instead fly directly from Jomsom back to Pokhara after Muktinath, which is significantly faster but skips the Ghorepani/Poon Hill section and its gentler re-acclimatization descent.
The Vertical Shape of the Trek, Visualized in Numbers
Because the Circuit's elevation profile is so distinctly asymmetric, it's worth laying out the actual daily elevation changes across a standard itinerary to see the shape clearly.
Day (standard 13-16 day itinerary) | Segment | Elevation change |
|---|---|---|
1 | Kathmandu/Pokhara → Besisahar → Chame (often combined via jeep + short trek) | Gain to 2,670m |
2 | Chame → Pisang | Gain of roughly 530-630m |
3 | Pisang → Manang | Gain of roughly 240-340m |
4 | Acclimatization day in Manang | Optional day hike, no net overnight elevation change |
5 | Manang → Yak Kharka | Gain of roughly 470-580m |
6 | Yak Kharka → Thorong Phedi or High Camp | Gain of roughly 200-800m depending on end point |
7 | Thorong Phedi/High Camp → Thorong La (5,416m) → Muktinath | Net change: gain of up to ~530m, then a steep descent of roughly 1,600m — the single most dramatic elevation day of the entire trek |
8 | Muktinath → Jomsom | Descent of roughly 1,050-1,080m |
9 | Jomsom → Tatopani (often by road) | Descent to ~1,190-1,200m |
10-11 | Tatopani → Ghorepani → Poon Hill | Re-ascent to ~2,860-3,210m |
12-13 | Descent back to Pokhara via Ghandruk/Nayapul or Jomsom flight | Descent to ~800-1,070m |
The pattern that emerges from this table is exactly what makes the Circuit's elevation profile unique among Himalayan treks: roughly ten to twelve days of steady, mostly gradual ascent, followed by one single explosive day that includes both the trek's highest point and one of its most dramatic single-day descents, followed by several days of rapid, sustained elevation loss.
Total Elevation Gain and Loss
Because the trail doesn't rise in a straight line — it climbs into side valleys, drops to cross rivers, and re-ascends repeatedly — the cumulative elevation gain and loss across the full circuit is considerably higher than the simple difference between the lowest and highest points would suggest.
Across the full route, cumulative elevation gain and loss has been documented at roughly 4,100 meters or more, reflecting how much the trail rises and falls even beyond the single dramatic climb to Thorong La.
This constant undulation — not just the pass itself — is a meaningful part of why the Circuit is considered more physically demanding day-to-day than a single-destination trek like Annapurna Base Camp.
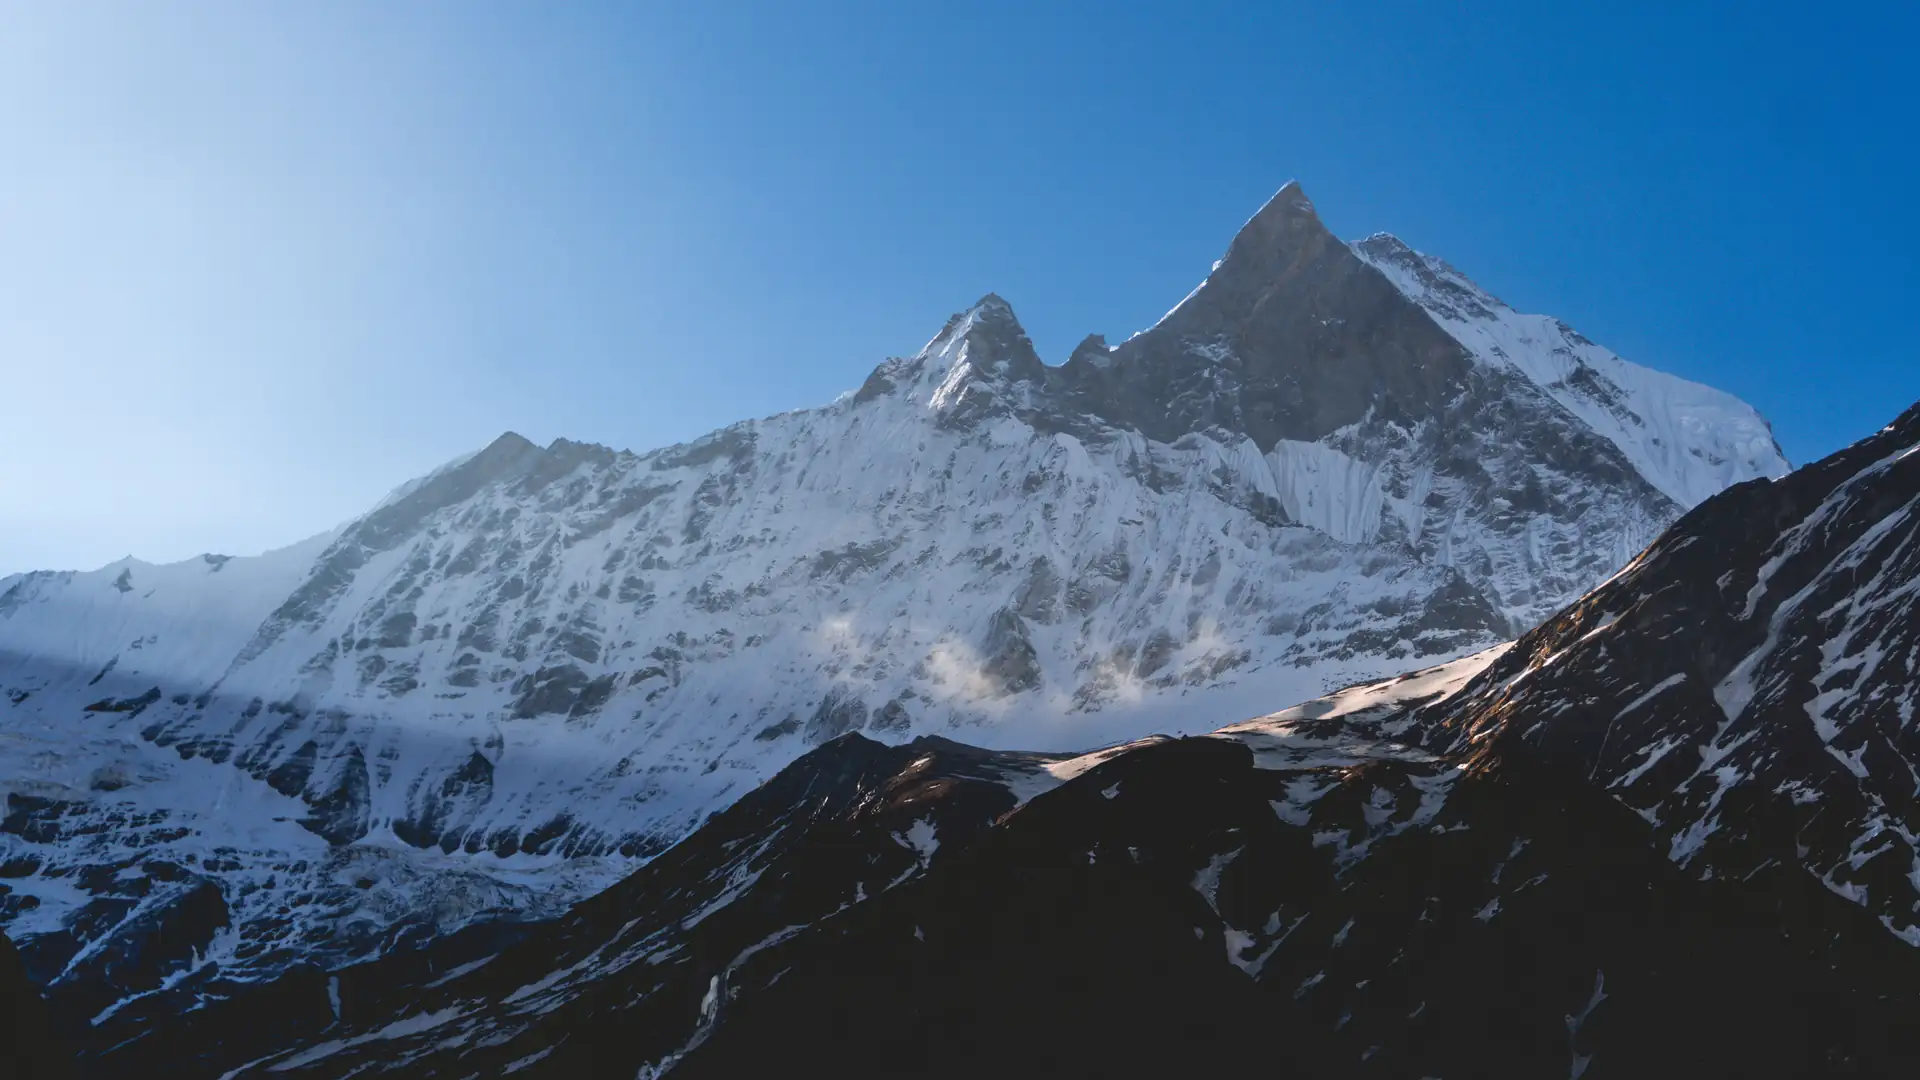
Where the Real Altitude Danger Sits (It's Not Where You'd Think)
This is one of the most important and most commonly misunderstood facts about the Annapurna Circuit's elevation profile: the most dangerous section from an altitude perspective is not the pass itself — it's the approach between Manang and High Camp.
This might seem counterintuitive, since Thorong La is the highest point on the entire route. But the pass crossing itself is a single, well-understood, heavily trafficked day that virtually every trekker on the route completes with careful preparation, an early start, and close guide supervision.
The approach section — Manang (3,540m) through Yak Kharka (~4,050m), Letdar (~4,250m), and up to Thorong Phedi (~4,450-4,540m) or High Camp (~4,880-4,925m) — is where the real acclimatization test happens, because this is where trekkers are gaining significant altitude, sleeping progressively higher each night, and pushing into AMS-relevant territory for several consecutive days before the pass crossing even begins.
The danger level for Acute Mountain Sickness (AMS) starts becoming relevant around 3,000 meters and increases significantly after reaching 4,000 meters — meaning Yak Kharka and Thorong Phedi both sit well within the zone where the body is working substantially harder than normal just to breathe and sleep, days before the pass is even in sight.
Understanding Thin Air at Each Elevation Zone
Elevation | What's happening physiologically |
|---|---|
Below 3,000m | Minimal altitude effect for most healthy trekkers |
3,000-4,000m | AMS risk becomes relevant; body working measurably harder |
4,000-4,500m (Yak Kharka, Thorong Phedi) | Oxygen availability considerably reduced; sleep and breathing noticeably affected for most trekkers |
4,500-5,000m (High Camp) | Oxygen pressure roughly half of that found at 3,000m; walking pace naturally slows |
5,416m (Thorong La summit) | Air is extremely thin; breathing must be deliberate and calculated, not rushed |
At the highest points of the trek, the body is engaged in the complete management of oxygen — breathing becomes a conscious, paced activity rather than an automatic background process, which is part of why guides insist on a slow, steady pace during the final approach to the pass rather than pushing hard to "get it over with."
The Manang Acclimatization Stop: Why It's Positioned Where It Is
Manang, at 3,540 meters, is the single most important acclimatization stop on the entire Circuit, and its position in the itinerary isn't arbitrary — it sits at almost exactly the altitude where AMS risk begins to meaningfully increase, giving trekkers a full rest day at a genuinely relevant elevation before pushing into the higher, more demanding stretch above.
The standard rest day in Manang isn't necessarily meant to be spent lying still — a short, moderate day hike to a higher point before returning to sleep at Manang's elevation is considered better acclimatization practice than doing nothing at all, since it encourages the body to produce more red blood cells during the rest period compared to remaining stationary the entire day.
A popular option for this is a walk up toward Gangapurna Lake (roughly 3,900m elevation), which offers a shorter, more accessible "climb high, sleep low" option than some of the more strenuous side hikes available from Manang.
Thorong Phedi vs. High Camp: An Elevation Decision That Matters
One of the more consequential elevation-related choices on this trek is where to spend the night before crossing Thorong La — at Thorong Phedi (roughly 4,420-4,540m) or at Thorong High Camp (roughly 4,880-4,925m).
Option | Elevation | Trade-off |
|---|---|---|
Thorong Phedi | ~4,420-4,540m | Lower, theoretically slightly gentler sleeping altitude, but leaves a longer, harder summit-day climb to the pass |
Thorong High Camp | ~4,880-4,925m | Higher sleeping altitude (meaning a harder night in some respects), but a shorter, faster summit push the next morning |
Many experienced operators recommend sleeping at High Camp specifically because it shortens the following day's ascent to the pass, reducing the total physical exertion required on the single most demanding day of the trek — even though it means sleeping at a higher elevation the night before.
This is a genuine trade-off rather than a universally "correct" choice, and it's worth discussing with your guide based on how your body has responded to the altitude gain so far.
The Thorong La Pass Crossing: Elevation Details That Matter
The Numbers
Ascent from Thorong Phedi to the pass: roughly 966 meters
Ascent from High Camp to the pass: roughly 530-536 meters
Descent from the pass to Muktinath: roughly 1,600-1,656 meters
Total elevation change on pass-crossing day: among the most dramatic single-day altitude swings found anywhere in the Himalaya, combining a genuine high-altitude ascent with an equally dramatic descent in the same day
Why the Early Start
Most trekkers begin the ascent from Thorong Phedi or High Camp in the very early hours, often before 4-5am, specifically to cross the pass before strong afternoon winds develop — a practical safety measure tied directly to the pass's extreme elevation and exposure, since wind at 5,416 meters, in thin air and cold temperatures, poses genuine additional risk beyond the altitude itself.
What You See From the Top
From the summit of Thorong La, the pass offers views of Dhaulagiri I (8,167m) to the west and the Mustang valley spread out below — a payoff that, for most trekkers, defines the entire trip. The pass itself sits between two striking peaks, Khatung Kang (6,484m) and Yakawa Kang (6,482m), which frame the crossing dramatically on either side.
The Descent's Physical Toll
The descent from Thorong La to Muktinath, dropping roughly 1,600 meters in a single push, places significantly more strain on the knees than the ascent does — a detail worth remembering when packing (trekking poles are close to essential for this specific day) and when planning pace, since rushing a steep, sustained descent increases injury risk even though the altitude-related danger has technically passed once you begin heading down.
Elevation and Direction: Why Most Trekkers Go Anticlockwise
The Annapurna Circuit can technically be walked in either direction, but the overwhelming majority of trekkers — and virtually every guided itinerary — go anticlockwise (starting from Besisahar in the east, crossing Thorong La from Manang toward Muktinath).
This directional choice is fundamentally an elevation-gain decision: going anticlockwise means climbing to Thorong La gradually, over many days of steady altitude gain with a proper acclimatization stop at Manang along the way, before making the final push to the pass.
Going clockwise (starting from Muktinath and climbing to the pass from that side) would mean a much faster, steeper elevation gain to reach 5,416 meters, without the same built-in acclimatization runway — a route pattern that significantly increases AMS risk and is why it's rarely recommended or offered by reputable trekking operators.
Seasonal Effects on the Elevation Profile
Elevation risk doesn't stay constant across the year — weather conditions at the highest points of the route change how safe and passable that elevation profile actually is.
Season | Effect on the high-elevation sections |
|---|---|
Spring (March-May) | Generally stable conditions at Thorong La, though late-season snow can occasionally linger from winter |
Monsoon (June-August) | Generally avoided; poor visibility and wet conditions add risk to the highest, most exposed sections of the route |
Autumn (September-November) | The most reliable season for crossing Thorong La — stable weather, minimal snow risk |
Winter (December-February) | Genuine risk of the pass becoming snow-blocked or requiring specialized winter gear; conditions should always be checked before departure in this window |
When the pass is blocked by snow, there is no alternative route around the Annapurna massif short of a multi-day detour — meaning Thorong La isn't just the trek's highest point, it's also its single point of failure.
Experienced operators check pass conditions before every departure above Manang during the winter months specifically because of this, and the Himalayan Rescue Association post in Manang is widely regarded as the most reliable real-time source for current pass conditions during the trekking season.
Elevation Comparison: Annapurna Circuit Against Other Major Treks
Trek | Lowest point | Highest point | Total elevation range |
|---|---|---|---|
Ghorepani Poon Hill | ~1,070m | 3,210m | ~2,140m |
~1,070m | 4,130m | ~3,060m | |
~1,200-1,770m | 4,500m | ~2,730-3,300m | |
Everest Base Camp | ~2,860m (Lukla) | 5,364m | ~2,500m |
Manaslu Circuit (Larke Pass) | ~700m | 5,106m | ~4,400m |
Annapurna Circuit | ~760-800m | 5,416m | ~4,600-4,650m |
Nar Phu Valley (Kang La Pass) | ~1,100m | 5,322m | ~4,200m+ |
The Annapurna Circuit has one of the largest total elevation ranges of any regularly trekked route in Nepal, comparable to or exceeding the Manaslu Circuit and considerably larger than the range covered by Everest Base Camp, largely because EBC's trailhead (Lukla, reached by flight) already starts at a relatively high elevation, while the Circuit begins its journey from near sea-level-adjacent lowland terrain.
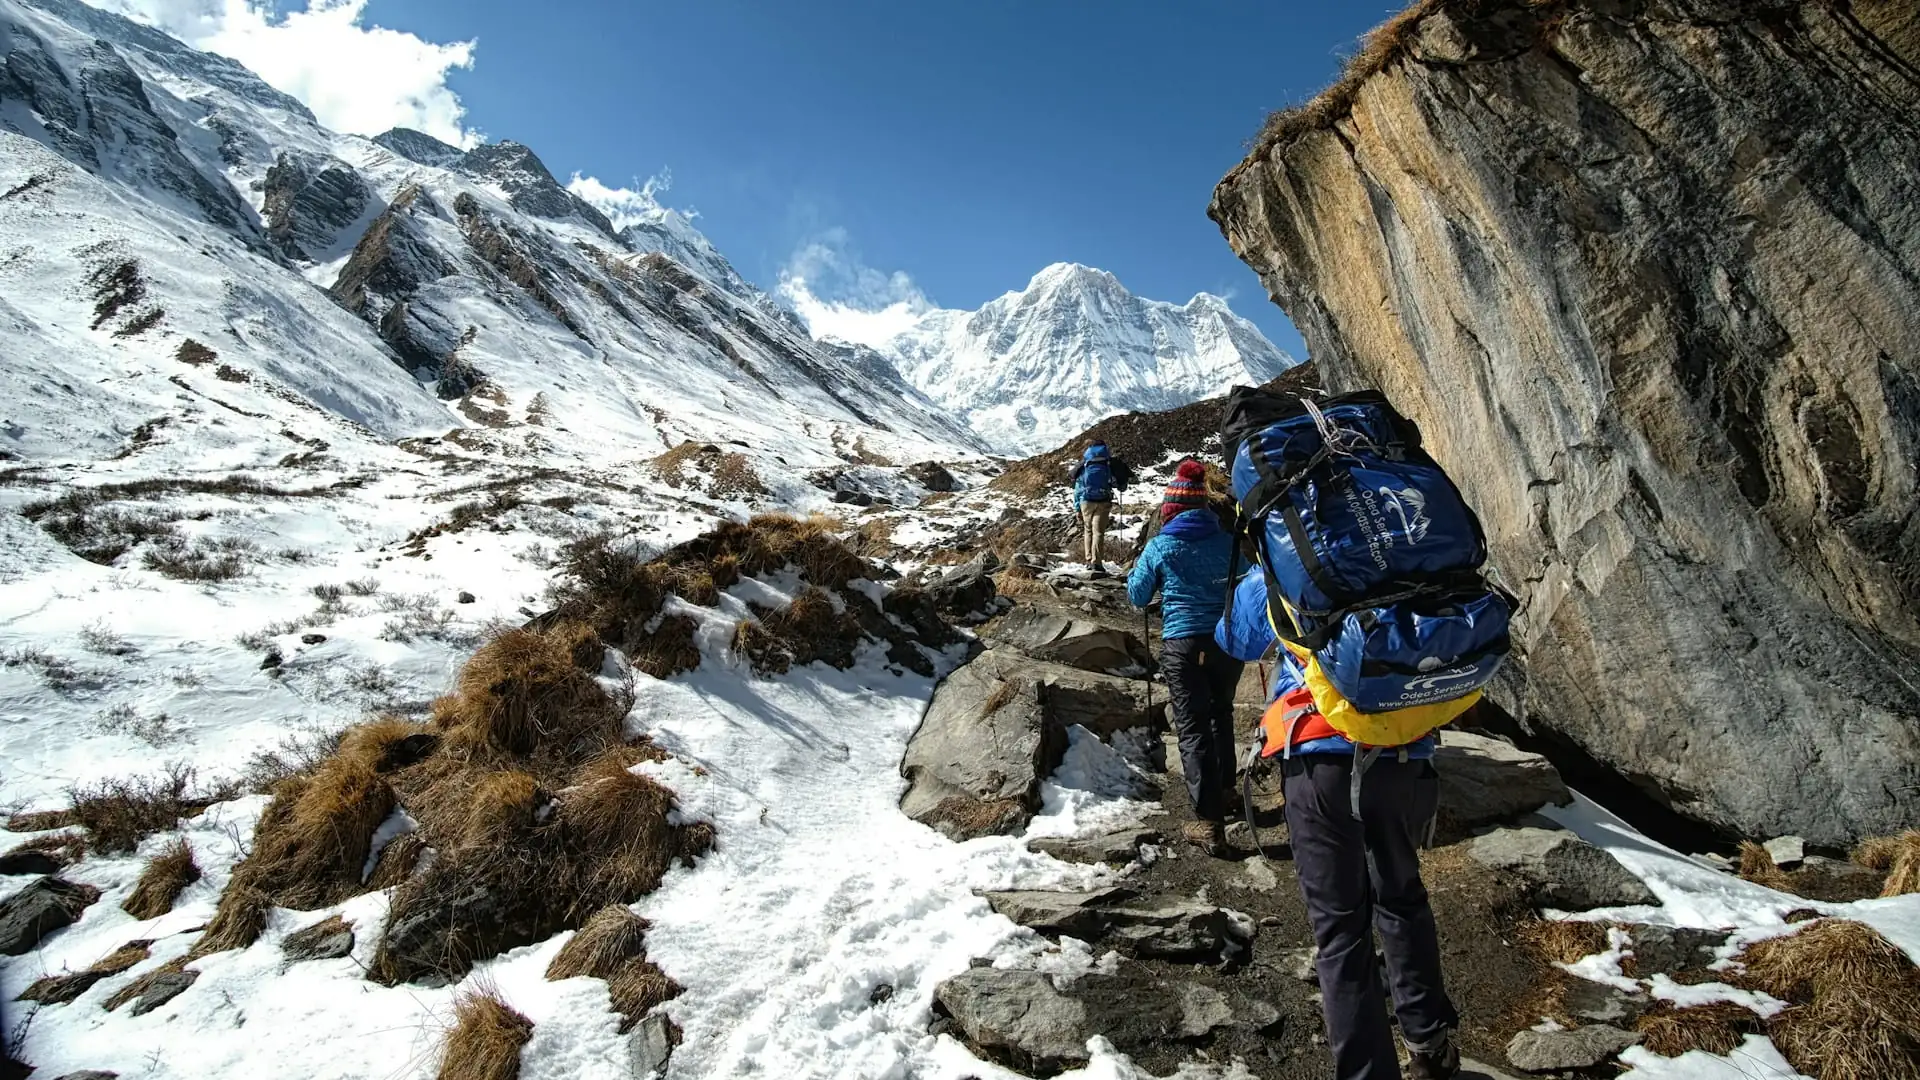
What Elevation Means for Your Packing List
The Circuit's enormous elevation range has direct, practical implications for what you need to carry — a single packing list has to cover conditions from subtropical lowland warmth to genuine high-altitude cold within the same trip.
Elevation zone | Temperature implication | Gear implication |
|---|---|---|
Below 2,000m (Besisahar, lower valley) | Warm, sometimes humid | Lightweight clothing, sun protection |
2,000-3,500m (Chame to Manang) | Cooling steadily | Layering system becomes essential |
3,500-4,900m (Yak Kharka to High Camp) | Cold, especially at night | Insulated jacket, warm sleeping bag, gloves, hat |
5,416m (Thorong La, day-trip only) | Extremely cold, high wind exposure | Full cold-weather layering, windproof shell, sun protection (UV increases with altitude) |
Post-pass descent to Tatopani (~1,190m) | Warming rapidly | Layers shed quickly; lighter clothing needed again within a day or two |
This rapid cycling between cold high-altitude gear and warm lowland clothing — sometimes within 48 hours — is a defining practical challenge of packing for this specific trek, distinct from single-elevation-zone routes.
Elevation-Related Health and Safety Considerations
AMS Risk by Zone
Elevation | AMS relevance |
|---|---|
Below 3,000m | Generally low risk for most healthy trekkers |
3,000-4,000m (Manang and below) | Risk becomes genuinely relevant; this is why the Manang acclimatization day is positioned here |
4,000-4,900m (Yak Kharka through High Camp) | The trek's highest-risk zone for AMS onset and progression, given the combination of altitude and multiple consecutive nights sleeping progressively higher |
5,416m (Thorong La, transit only) | Extremely thin air, but exposure is limited to a single day rather than an overnight stay, which somewhat reduces (though doesn't eliminate) risk compared to sleeping at this altitude |
The General Ascent Rule
Most trekking-medicine guidance recommends no more than roughly 300-500 meters of net elevation gain per night once sleeping above 3,000 meters — a guideline directly relevant to the Manang-to-High Camp stretch of the Circuit, where several consecutive nights involve exactly this kind of incremental altitude gain.
Recognizing Symptoms at Elevation
Mild symptoms (headache, fatigue, nausea, dizziness) should prompt a pause in ascent and close monitoring; symptoms that worsen, or that include confusion, chest tightness, extreme fatigue, or difficulty walking, require immediate descent of at least 500-1,000 meters and, where necessary, medical evacuation — the same emergency protocol that applies to any high-altitude Himalayan trek.
Emergency Resources Along the Route
The Himalayan Rescue Association maintains a post in Manang, providing both altitude sickness information and emergency guidance during the trekking season — a genuinely valuable resource given the route's remote, high-elevation profile above this point, and worth knowing about specifically because it's the last major settlement before the trail pushes into its highest and most demanding stretch.
Annapurna Circuit Elevation-Based Itinerary Planning
Standard vs. Extended Itineraries
Itinerary length | Elevation-gain implication |
|---|---|
8-11 days (jeep-supported, shortened) | Faster overall elevation gain in the lower and middle sections; acclimatization still centers on the Manang rest day |
12-16 days (standard) | More gradual overall pacing; generally considered the safer, more comfortable option for most trekkers |
18-21 days (classic, full walking route) | The most gradual elevation gain profile of all, since lower sections are walked rather than driven |
Choosing a shorter, more heavily jeep-supported itinerary primarily compresses the lower-elevation sections of the trek (Besisahar to Chame), which is generally considered acceptable from an acclimatization standpoint since AMS risk is low at these elevations — the critical acclimatization stretch from Manang upward remains largely unchanged regardless of how much of the lower route is driven.
Adding Rest Days Beyond Manang
Trekkers with any history of altitude sensitivity, or anyone who wants a more conservative approach, can consider adding an extra night at Yak Kharka or Thorong Phedi beyond the standard itinerary — it is possible to extend a stay in this zone before crossing the pass, which effectively adds another buffer day for the body to adjust before the trek's most demanding single day.
How Elevation Shapes the Trekking Experience, Zone by Zone
The Lowlands (Besisahar to Chame): Warm and Transitional
This section feels closer to a countryside walk than a high-altitude trek — subtropical and temperate forest, terraced farmland, and warm daytime temperatures dominate, with elevation gain gradual enough that altitude isn't yet a meaningful factor.
The Middle Valley (Chame to Manang): The Shift Begins
This is where the trek visibly transitions — forest thins, terrain opens up, temperatures cool noticeably, and the first real sense of high-mountain scale sets in as peaks like Annapurna II, Annapurna IV, and Pisang Peak come into clearer view.
The High Alpine Zone (Manang to High Camp): Genuine High-Altitude Trekking
Vegetation becomes sparse, terrain turns dry and rocky, and walking pace naturally slows as the body works harder in thinner air — this is unmistakably high-altitude trekking, distinct in character from everything below Manang.
The Pass and Immediate Descent: The Trek's Defining Day
Extremely thin air, careful and deliberate breathing, dramatic panoramic views, followed by one of the steepest, fastest elevation drops found on any Himalayan trekking route — the single day most trekkers describe as the trip's defining experience, for better and for harder.
The Mustang Descent (Muktinath to Tatopani): Rapid Recovery
A dramatic, welcome shift back toward warmth and thicker air, with the dry, windswept high-altitude terrain giving way to greener valleys — a genuine physiological relief after the demands of the pass.
The Optional Southern Loop (Tatopani to Pokhara via Ghorepani): A Gentle Return
A much gentler re-ascent to Ghorepani and Poon Hill (3,210m) before a final descent back toward Pokhara — considerably less demanding than anything in the trek's high-altitude core, and a pleasant way to close out the journey for those with time to include it.
Elevation-Related Decision Points on the Route
Decision | Elevation consideration |
|---|---|
Upper Pisang vs. Lower Pisang route | Upper route reaches slightly higher (~3,300m vs ~3,200m) and offers better mountain views but requires more effort |
Thorong Phedi vs. High Camp overnight | Trade-off between sleeping lower (Phedi) vs. a shorter summit-day climb (High Camp) |
Walking vs. jeep on the Besisahar-to-Chame section | Affects trek duration and physical conditioning before the high-altitude section begins, though minimal AMS relevance at this elevation |
Flying from Jomsom vs. walking the southern loop | Skipping the southern loop means missing the gentler Ghorepani/Poon Hill re-acclimatization descent, but saves several days |
Adding an extra night around Yak Kharka/Thorong Phedi | A conservative buffer for trekkers wanting extra acclimatization time before the pass |
Why Local Guide Knowledge Matters for Elevation-Related Decisions
Static elevation figures — the numbers in every table above — only tell part of the story. What they can't tell you is how this week's snow accumulation near High Camp is affecting trail conditions, whether this particular group's pace suggests an extra acclimatization day would be wise, or whether the pass is currently open at all.
That kind of real-time judgment is exactly where locally based, experienced guidance matters most on a route with this much elevation-related complexity.
This is a core part of the value an operator like Adventure Life Nepal brings to Annapurna Circuit planning — guides who track current pass conditions, who can make an informed call on Thorong Phedi versus High Camp based on how a specific group is acclimatizing, and who understand that the elevation profile described in any guide (including this one) is a planning framework, not a substitute for on-the-ground judgment during the trek itself.
Frequently Asked Questions about Annapurna Circuit Elevation
1. What is the highest point on the Annapurna Circuit?
Thorong La Pass, at 5,416 meters (17,769 feet), is the highest point on the entire route and one of the highest trekking passes in the world.
2. What is the lowest point on the Annapurna Circuit?
Besisahar, the traditional trailhead, sits at roughly 760-800 meters, though the return leg through Tatopani (roughly 1,190-1,200m) is the lowest point reached after crossing the pass.
3. How much total elevation gain is there on the Annapurna Circuit?
The route covers a total elevation range of roughly 4,600-4,650 meters between its lowest and highest points, with cumulative elevation gain and loss across the full trek — accounting for the trail's repeated rises and falls — documented at roughly 4,100 meters or more.
4. Where does the real altitude danger sit on this trek?
Not at the pass itself, but on the approach between Manang and Thorong High Camp — this stretch involves several consecutive nights of significant elevation gain into genuinely high-altitude territory, making it the section where AMS risk most commonly develops.
5. Should I sleep at Thorong Phedi or Thorong High Camp before crossing the pass?
Both are used regularly. Thorong Phedi (~4,420-4,540m) is lower but leaves a longer summit-day climb; High Camp (~4,880-4,925m) is higher but shortens the following day's ascent. Many operators recommend High Camp specifically to reduce the total physical exertion required on pass-crossing day.
6. How steep is the descent from Thorong La to Muktinath?
Very steep — roughly 1,600 meters of descent in a single day, among the most dramatic single-day altitude drops found on any major Himalayan trekking route, and genuinely hard on the knees.
7. Why do most trekkers go anticlockwise around the Circuit?
Because it allows a gradual, extended elevation gain toward Thorong La with a proper acclimatization stop at Manang, rather than a much faster, riskier climb to the pass from the Muktinath side.
8. Can Thorong La Pass be closed by weather?
Yes, particularly in winter, when snow can block the pass entirely. Since there's no alternative route around the Annapurna massif short of a multi-day detour, checking current pass conditions before departure is essential in the winter months.
9. How does the Manang rest day fit into the elevation profile?
Manang sits at 3,540 meters, close to the altitude where AMS risk starts becoming relevant, making it a well-positioned spot for a full acclimatization day — ideally including a short, higher day hike (such as to Gangapurna Lake) before returning to sleep at Manang's elevation.
10. Is the Annapurna Circuit's elevation range larger than Everest Base Camp's?
Yes, generally — the Circuit covers a larger total elevation range (roughly 4,600m+) than Everest Base Camp (roughly 2,500m), largely because EBC's trailhead at Lukla already starts at a comparatively high elevation reached by flight, while the Circuit begins from near-lowland terrain.
11. What elevation does AMS risk become a real concern on this trek?
Risk becomes genuinely relevant starting around 3,000 meters and increases significantly above 4,000 meters — meaning Yak Kharka, Letdar, Thorong Phedi, and High Camp all sit within the trek's highest-risk zone.
12. How many meters of elevation gain per day is considered safe above 3,000m?
A commonly cited general guideline is no more than roughly 300-500 meters of net elevation gain per night once sleeping above 3,000 meters — directly relevant to the pacing of the Manang-to-High Camp stretch.
13. Does the elevation profile differ if I use a shortened, jeep-supported itinerary?
The lower-elevation sections (Besisahar to Chame) are most commonly shortened by jeep, which has minimal acclimatization impact given the low AMS relevance at those elevations — the critical high-altitude acclimatization stretch from Manang upward remains essentially unchanged regardless of itinerary length.
14. What views does the Thorong La summit offer given its extreme elevation?
From 5,416 meters, the pass offers views of Dhaulagiri I (8,167m) to the west and the Mustang valley below, framed by the peaks of Khatung Kang (6,484m) and Yakawa Kang (6,482m) on either side.
Final Thoughts on Annapurna Circuit Elevation
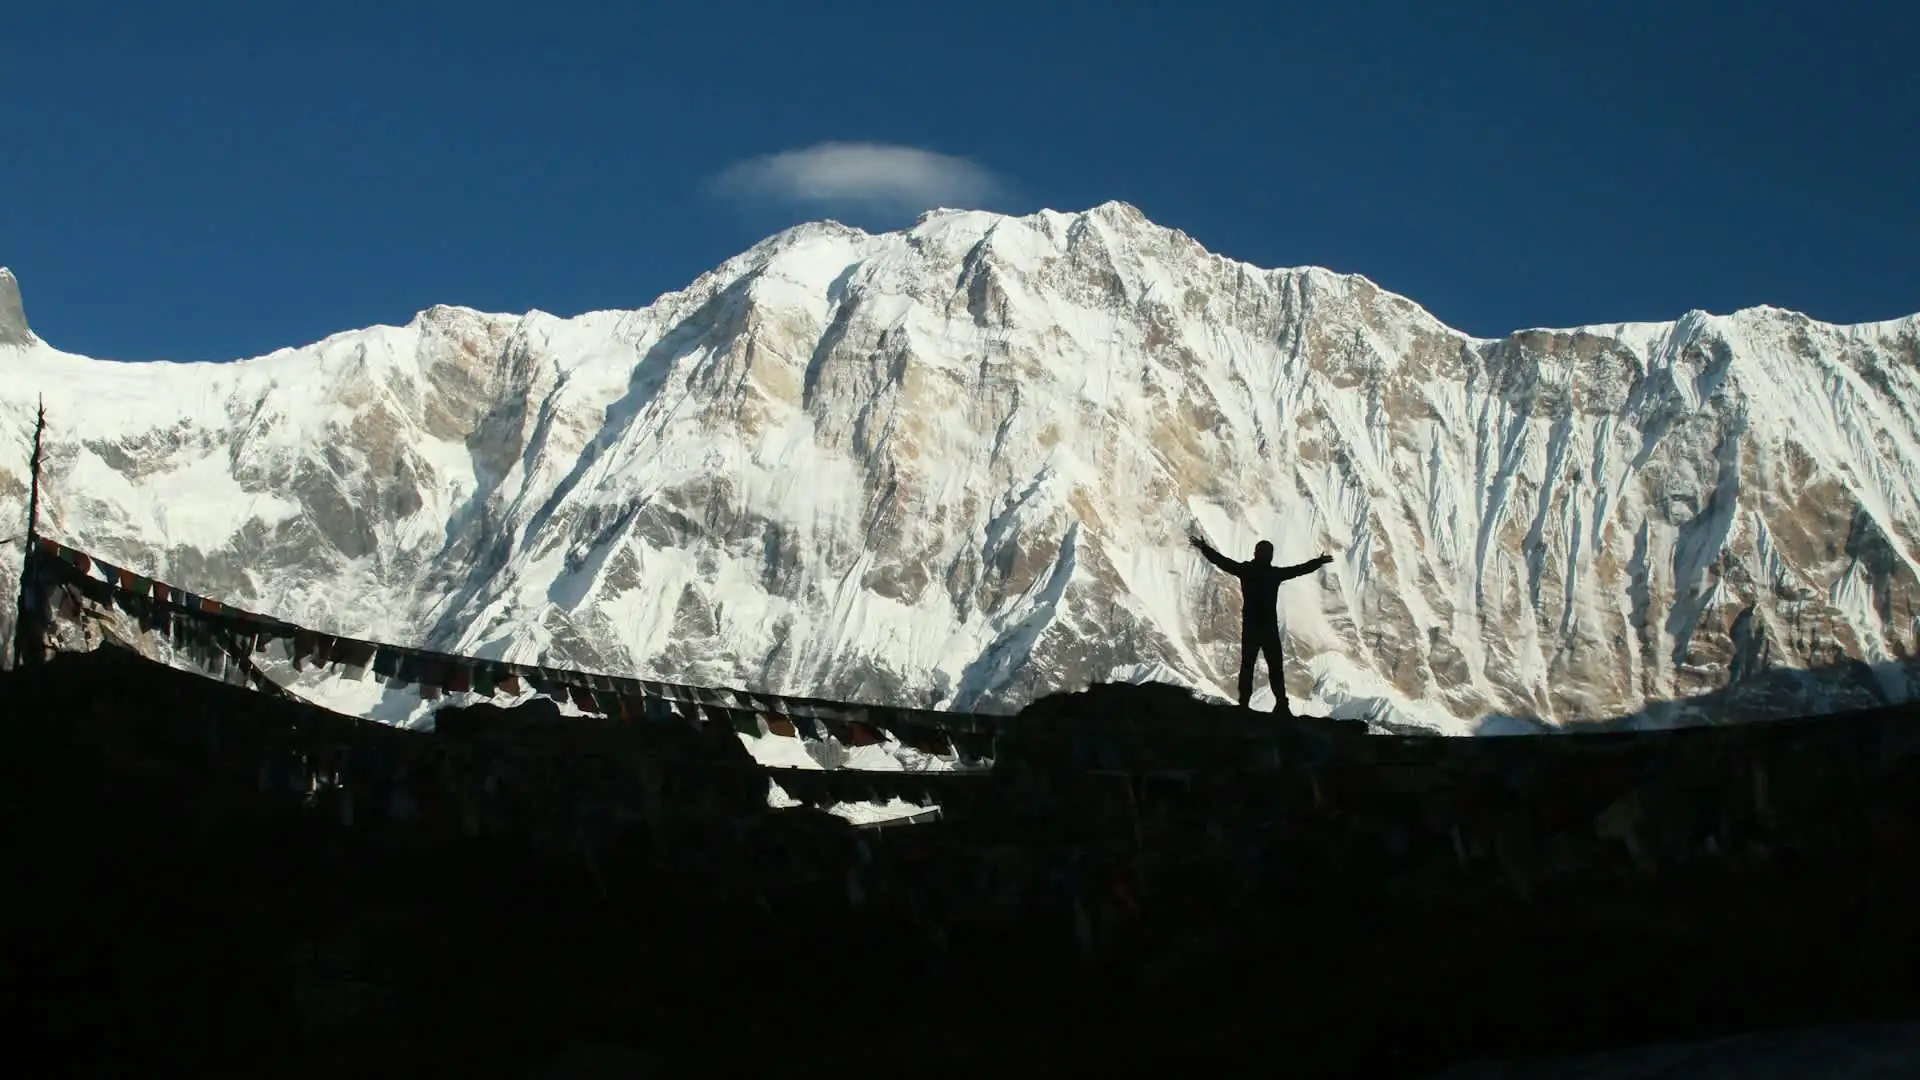
The Annapurna Circuit's elevation profile is what makes it genuinely unlike almost any other trek in Nepal — not just the single highest point at Thorong La, but the sheer scale of the total journey, from near-sea-level lowland forest to 5,416 meters and back down through an entirely different valley and climate zone on the other side.
Understanding this profile in detail — where the gain is gradual, where it accelerates, where the real acclimatization risk concentrates, and how the descent tests the body in a completely different way than the ascent — is what separates a well-paced, genuinely enjoyable Circuit trek from one that turns into an uncomfortable, rushed slog through some of the most demanding terrain the route has to offer.
Respect the numbers in this guide, but treat them as a framework for planning rather than a substitute for careful pacing, honest symptom awareness, and good guidance on the trail itself — and the reward, standing at 5,416 meters with Dhaulagiri on one horizon and the whole Mustang valley on the other, tends to make every meter of the climb worth it.