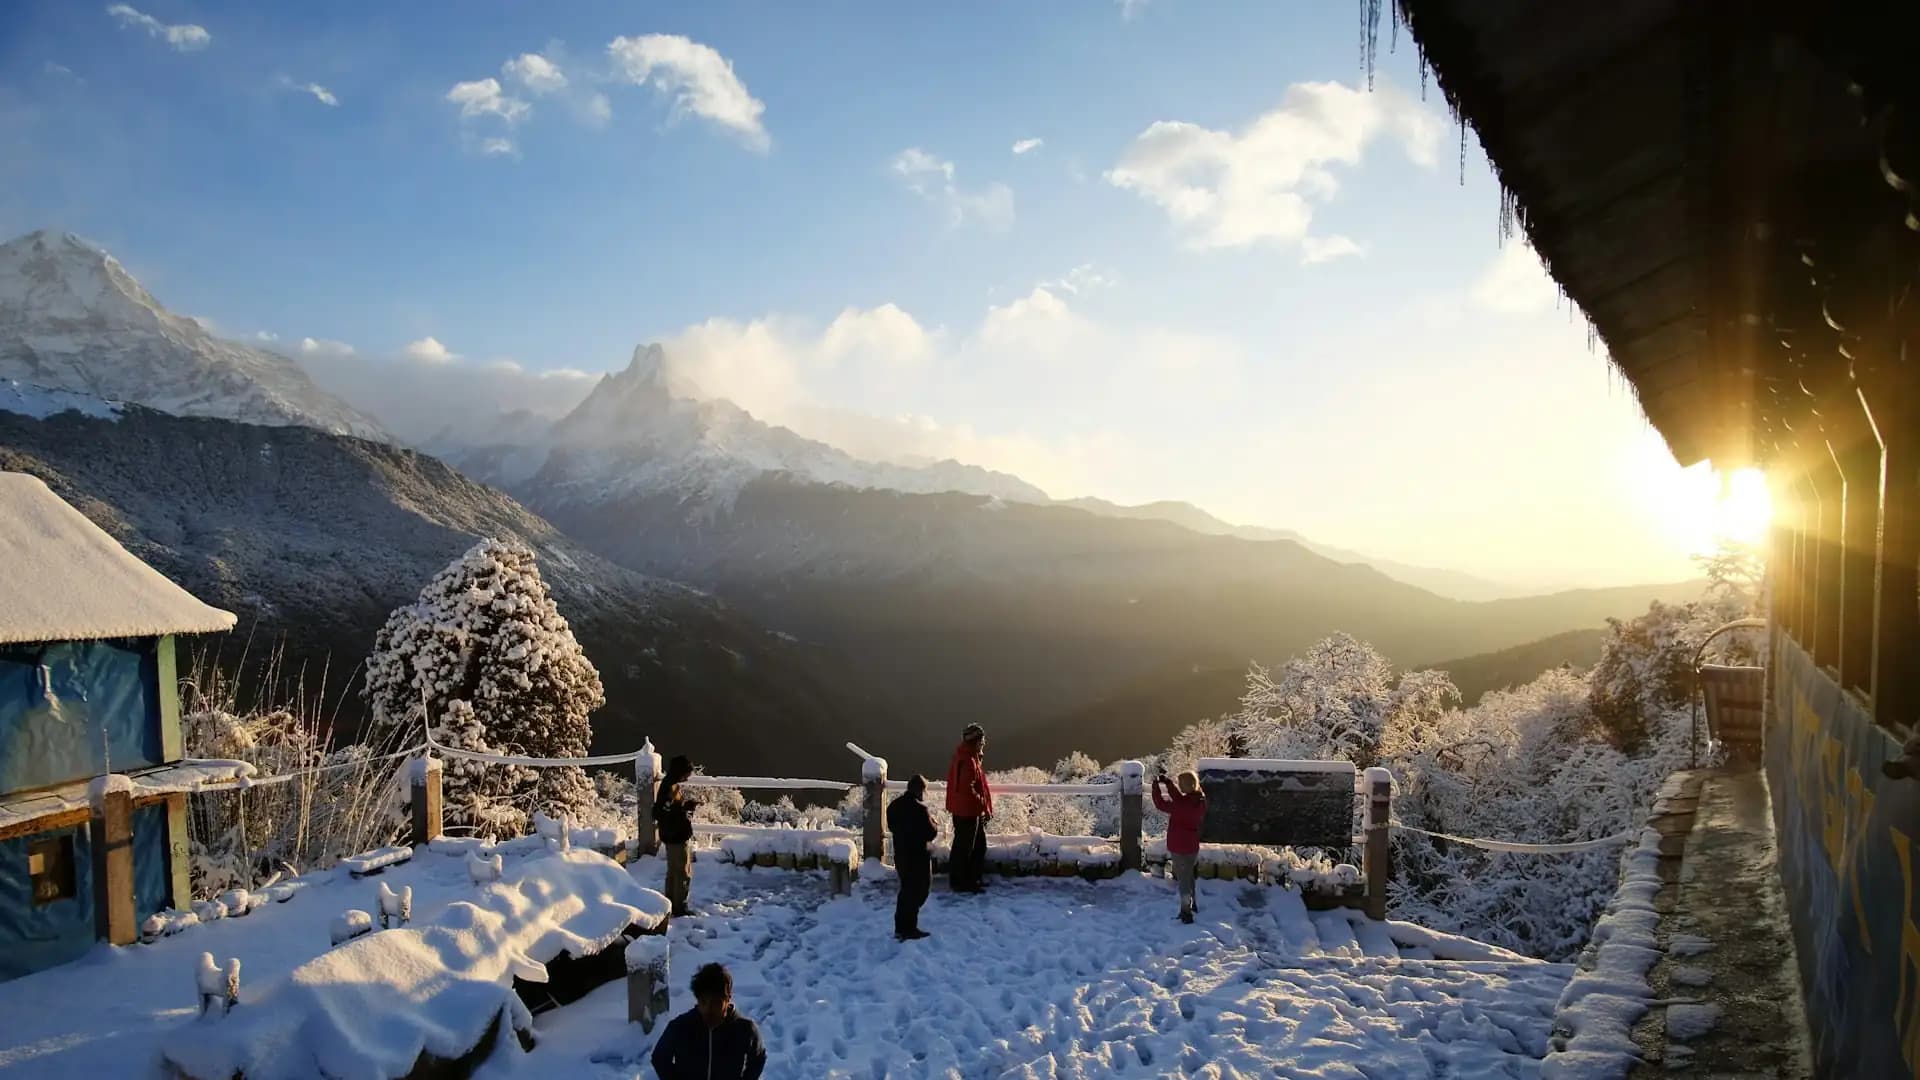
Annapurna Base Camp Trek Tips | What No One Tells You
Introduction to Annapurna Base Camp Trek Tips
Most Annapurna Base Camp guides tell you the same handful of things: pack layers, hire a guide, drink water, watch for altitude sickness. All true, all useful, and all things you'll read in a dozen other places. This guide is built differently — it's the accumulated, specific, sometimes counterintuitive knowledge that actually shapes how the trek feels in practice, organized by category so you can find what's relevant to you quickly. Some of these tips are about money, some about timing, some about the small physical details that separate a comfortable week from a miserable one.
Every fact referenced below — elevation figures, costs, seasonal patterns, permit details — is checked against current, accurate information for this specific trek, because "trek tips" articles too often repeat vague folklore rather than genuinely useful, specific guidance. What follows is organized into clear categories so you can skim to what matters most for your trip.
Planning and Booking Tips
Tip #1: Understand that "Annapurna Base Camp trek" covers several different route configurations, not one fixed path. Total round-trip distance ranges from roughly 70km (the shortest direct route via Jhinu Danda) to roughly 130km (the full loop including Ghorepani and Poon Hill). Know which version you're booking before comparing prices between operators, since a cheap "ABC package" and an expensive one might simply be covering different amounts of ground.
Tip #2: Choose your season deliberately, not by default. October and April are widely considered the two best months, offering the clearest skies and most stable trail conditions. Autumn (September-November) generally edges out spring for overall visibility, while spring brings rhododendron blooms and slightly milder daytime temperatures at the cost of more afternoon haze.
Tip #3: Book earlier than feels necessary if you're trekking in October. This is by far the busiest month on the route, and teahouses — particularly at Machhapuchhre Base Camp and Annapurna Base Camp itself — can fill up fast. A guided operator who can coordinate accommodation in advance is a genuine advantage during this specific window.
Tip #4: A licensed guide is not optional anymore. Since April 2023, independent solo trekking without a licensed guide has been restricted for most Annapurna region routes, including ABC. Build this into your planning from the start rather than assuming you'll figure it out once you arrive.
Tip #5: Choose a longer itinerary than the bare minimum if you have any flexibility. A 10-12 day version (particularly one including the Poon Hill detour) spreads the same overall distance and elevation gain more gradually than a compressed 5-6 day version, meaningfully improving both comfort and acclimatization.
Permit and Paperwork Tips
Tip #6: Know exactly which two permits you need, and don't assume they're bundled with your flight or hotel booking. You need the Annapurna Conservation Area Permit (ACAP, roughly NPR 3,000 / USD 22-30) and the TIMS card (roughly NPR 2,000 / USD 15-17). Both are checked physically at multiple points along the route — Birethanti, Ghandruk, and Chhomrong among them.
Tip #7: Carry printed copies of your permits, not just digital ones. Battery failure and lack of signal are common realities above the lower villages, and permit checkpoints expect to see a physical document.
Tip #8: If your guided package advertises "permits included," confirm exactly what that means before departure. Most reputable operators genuinely handle this paperwork directly as part of the service, but it's worth a direct confirmation rather than an assumption, particularly with budget or unfamiliar operators.
Money and Budgeting Tips
Tip #9: Understand the real cost range before you commit to a package. Most trekkers spend somewhere between USD 500 and USD 1,200 per person total, with the wide range driven by trek duration, guided versus independent style, group size, and how much you spend on optional extras.
Tip #10: Budget separately for extras that headline package prices often exclude. Hot showers typically run USD 3-5, WiFi USD 2-5 per day, device charging USD 2-4 per hour, and bottled or purified water USD 1-3 per liter. None of these are always folded into a base package price.
Tip #11: Cash is essential — plan for it specifically. ATMs become unreliable or nonexistent above Pokhara and the lower trailhead towns, and card payment is essentially nonexistent on the trail itself. Withdraw or exchange the bulk of your trekking cash in Kathmandu or Pokhara before heading to the trailhead.
Tip #12: Carry small denominations, not large notes. Teahouses in remote villages, especially at higher elevations, often can't make change for large bills — this is a genuinely common source of frustration that's completely avoidable with a bit of planning.
Tip #13: Budget tips as a real line item, not an afterthought. A common guideline is roughly USD 5-10 per day per trekker for guide and porter services combined, often given as a lump sum at the trek's end.
Tip #14: Group treks are meaningfully cheaper per person than solo treks, roughly 20% on average, since guide, porter, and transport costs are shared rather than absorbed individually. If you're flexible, joining or forming a small group is a genuinely effective way to reduce cost without cutting corners on service quality.
Tip #15: Order dal bhat as your default meal, not out of necessity but genuine value. It's the most calorie-appropriate meal for a demanding trek, the best value per rupee, and most teahouses offer free refills — a real, practical advantage on physically hard days.
Fitness and Preparation Tips
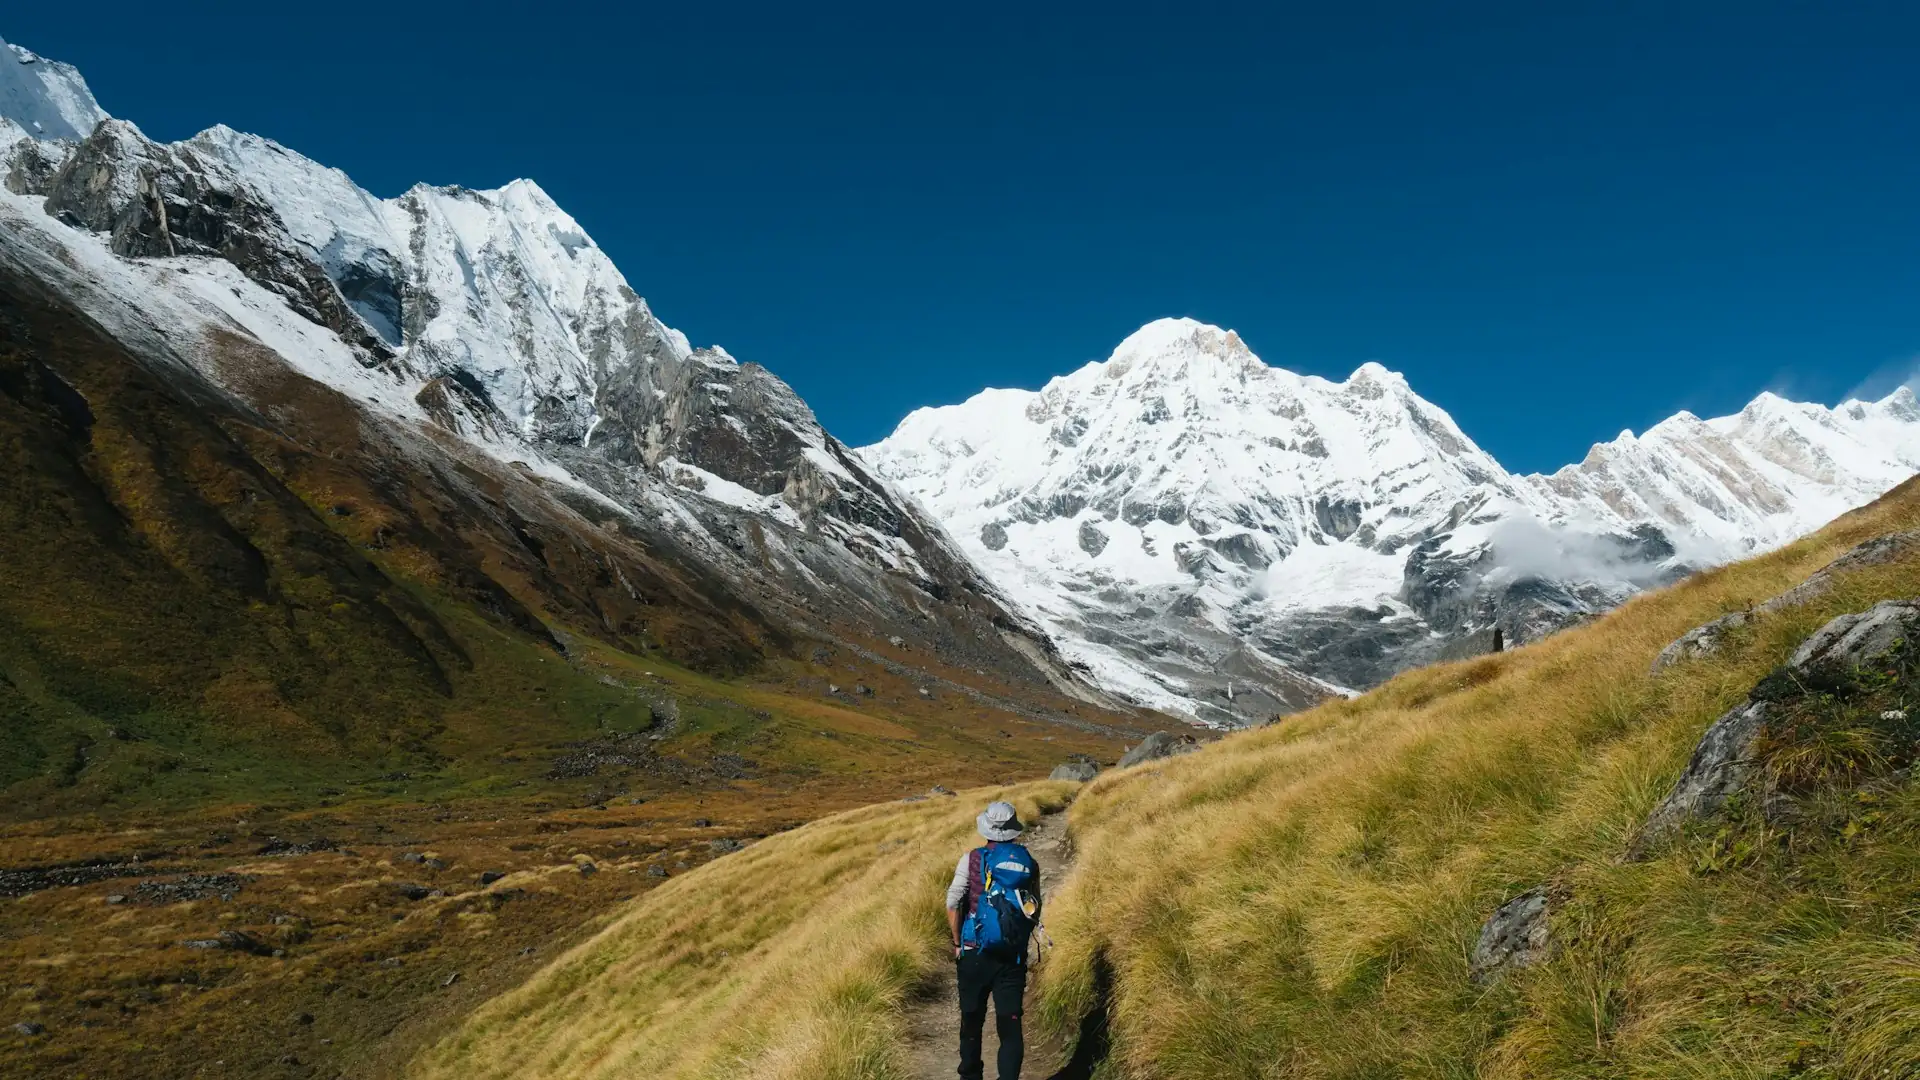
Tip #16: Train specifically for stairs, not just general cardio. The trek's toughest single physical element is consistently identified as its extensive stone staircase sections — particularly the Tikhedhunga-to-Ulleri climb (well over 3,000 steps in a single push) and the repeated steep descent-then-ascent pattern between Chhomrong and Sinuwa. General fitness helps, but stair-specific training delivers a disproportionate benefit.
Tip #17: A realistic fitness benchmark is comfortably walking 5 kilometers without stopping and climbing multiple flights of stairs without significant breathlessness. Most reasonably active adults reach this level with 6-8 weeks of focused pre-trip training.
Tip #18: Break in your boots well before departure — this is one of the most commonly repeated pieces of advice for a reason. New boots on a multi-day trek is one of the most preventable causes of blister-related trip disruption. Aim for several weeks of regular wear in the exact boots you'll bring.
Tip #19: Practice with your actual daypack loaded, not empty. Simulating real trail conditions during training — including the weight you'll actually carry each day — genuinely changes how prepared your body feels once you're on the trail.
Altitude and Health Tips
Tip #20: Understand that Annapurna Base Camp sits at 4,130 meters — high enough for genuine Acute Mountain Sickness (AMS) risk, even though it's lower than treks like Everest Base Camp or the Annapurna Circuit. Symptoms can begin appearing as early as roughly 2,400-2,500 meters, well before you reach base camp itself.
Tip #21: The riskiest stretch of the trek from an altitude perspective is the Deurali-to-MBC-to-ABC push, not the summit day of most other treks. This is where elevation gain is steepest and most concentrated in the shortest distance — pace deliberately through this section rather than rushing to "get it over with."
Tip #22: Discuss Diamox (acetazolamide) with a doctor well before departure, not once you're already in Nepal. Research shows it can reduce AMS incidence by up to roughly 50% above 3,500 meters, but it should be prescribed by a physician familiar with your health history, and people with sulfa allergies should not take it without specific medical guidance.
Tip #23: If you're prescribed Diamox, take a test dose at home before your trip. Some common side effects — tingling in fingers and toes, mild nausea — can be confused with early AMS symptoms on the trail, and knowing your own reaction in advance avoids unnecessary worry mid-trek.
Tip #24: Drink more water than feels natural — roughly 3-4 liters per day at altitude is commonly recommended, considerably more than most people drink at sea level under similar activity levels.
Tip #25: Report symptoms honestly, even if it feels like you're slowing the group down. AMS that's hidden or downplayed can't be responded to appropriately, and the progression from mild to severe symptoms is exactly the situation where early, honest communication makes the real difference.
Tip #26: Know the actual protocol, not just the general concept of "watch for altitude sickness." Mild symptoms (headache, fatigue, nausea) mean stop and monitor. Symptoms that worsen, or include confusion, chest tightness, extreme fatigue, or difficulty walking, mean immediate descent of at least 500-1,000 meters — not a wait-and-see approach.
Tip #27: Travel insurance should specifically cover high-altitude trekking and emergency evacuation up to at least 4,130 meters. Standard travel insurance sometimes excludes activities above a certain altitude threshold — verify this explicitly before purchasing, rather than assuming a generic policy has you covered.
Packing Tips That Go Beyond the Standard List
Tip #28: Pack for a genuine climate range, not a single "Himalayan trek" mental image. Temperatures vary dramatically by elevation zone — roughly 10-15°C during the day and 0-5°C at night in the lower regions, dropping to as low as -15°C to -20°C at night at ABC itself depending on season. A single warm jacket won't cover this whole range; a proper four-layer system (base, mid, insulation, shell) will.
Tip #29: Don't overpack cotton clothing. It's slow to dry, holds moisture, and gets cold once damp — a poor fit for this trek's layering needs regardless of season.
Tip #30: A sleeping bag rated to at least -10°C to -15°C comfort is the standard recommendation for most of the year, with a warmer rating (-15°C to -20°C) genuinely necessary if trekking December through February.
Tip #31: Rent bulky cold-weather gear in Kathmandu or Pokhara rather than flying with it, if you won't reuse it often. Sleeping bags, down jackets, and trekking poles are all widely available to rent at reasonable daily rates — a practical option for travelers who don't want to pack heavy gear for a single trip.
Tip #32: Trekking poles are more valuable on the descent than most first-timers expect. The steep, sustained descent from ABC back down through MBC and Deurali is genuinely harder on the knees than the climb up, and poles meaningfully reduce that strain.
Tip #33: Pack a headlamp with spare batteries, and keep the spares warm in an inner jacket pocket overnight. Cold temperatures drain batteries faster than normal, and early starts toward MBC and ABC for sunrise views happen in genuine darkness.
Tip #34: Bring enough base layers and underwear for the full trek without relying on laundry. Most teahouses above Chhomrong don't offer reliable laundry service, and clothing dries slowly in cold, humid mountain air even where it's technically available.
Food and Water Tips
Tip #35: Carry a reusable water bottle and a purification method (tablets, filter, or UV purifier) rather than buying bottled water at every stop. Bottled water gets progressively more expensive at higher elevations, and it also creates plastic waste in a protected conservation area.
Tip #36: Expect the menu to narrow as you climb. Lower villages offer a full range including Western options, but the selection shrinks considerably above Deurali, given how difficult it is to keep remote, high-altitude teahouses stocked. Mentally preparing for simpler meals in the final days avoids unnecessary disappointment.
Tip #37: Pack a small stash of familiar snacks — energy bars, electrolyte powder — for comfort and hydration support on harder days, even though teahouses along the route provide full meals throughout.
Tip #38: Eat where you sleep. Teahouses primarily earn income from meals rather than room charges, and many offer free or heavily discounted rooms specifically if you commit to eating all your meals there — a standard, openly understood arrangement across the route.
Accommodation Tips
Tip #39: Don't expect hot showers or reliable WiFi once you're above Chhomrong. Both become notably less consistent at higher elevations, dependent on solar or gas heating and inconsistent power systems — treat them as a bonus, not a guarantee, in the trek's upper stretch.
Tip #40: Carry a headlamp, toilet paper, and hand sanitizer specifically for bathroom trips at higher-elevation teahouses, where facilities are frequently shared and sometimes located outside the main lodge building.
Tip #41: Pack earplugs. Teahouse construction is often basic, particularly at higher elevations, and walls are thin — shared lodges mean noise from neighboring rooms and early risers is a common, easily-solved annoyance.
Tip #42: Spend time in the dining hall, not just your room, once you arrive each evening. It's genuinely the social and physical center of teahouse life — heated by a central stove, and where trekkers from around the world naturally gather and swap stories after a long day.
Weather and Seasonal Tips
Tip #43: October is the single most popular month for good reason — it offers the clearest, most stable weather of the year — but it's also the busiest. If you want similar conditions with meaningfully fewer crowds, consider late November instead.
Tip #44: If trekking in winter (December-February), check current trail conditions specifically for the Deurali-to-ABC stretch before departure. This section can require microspikes or gaiters in heavier snow years, particularly in January.
Tip #45: Pack a jacket even in the warmer seasons — teahouses are rarely well-heated, and nights at MBC and ABC stay near or below freezing regardless of the calendar month.
Tip #46: Monsoon season (June-August) is technically possible but genuinely harder — heavy rain, muddy trails, leeches at lower elevations, and reduced visibility. Most operators, including experienced local guides, generally advise against this window for first-time trekkers.
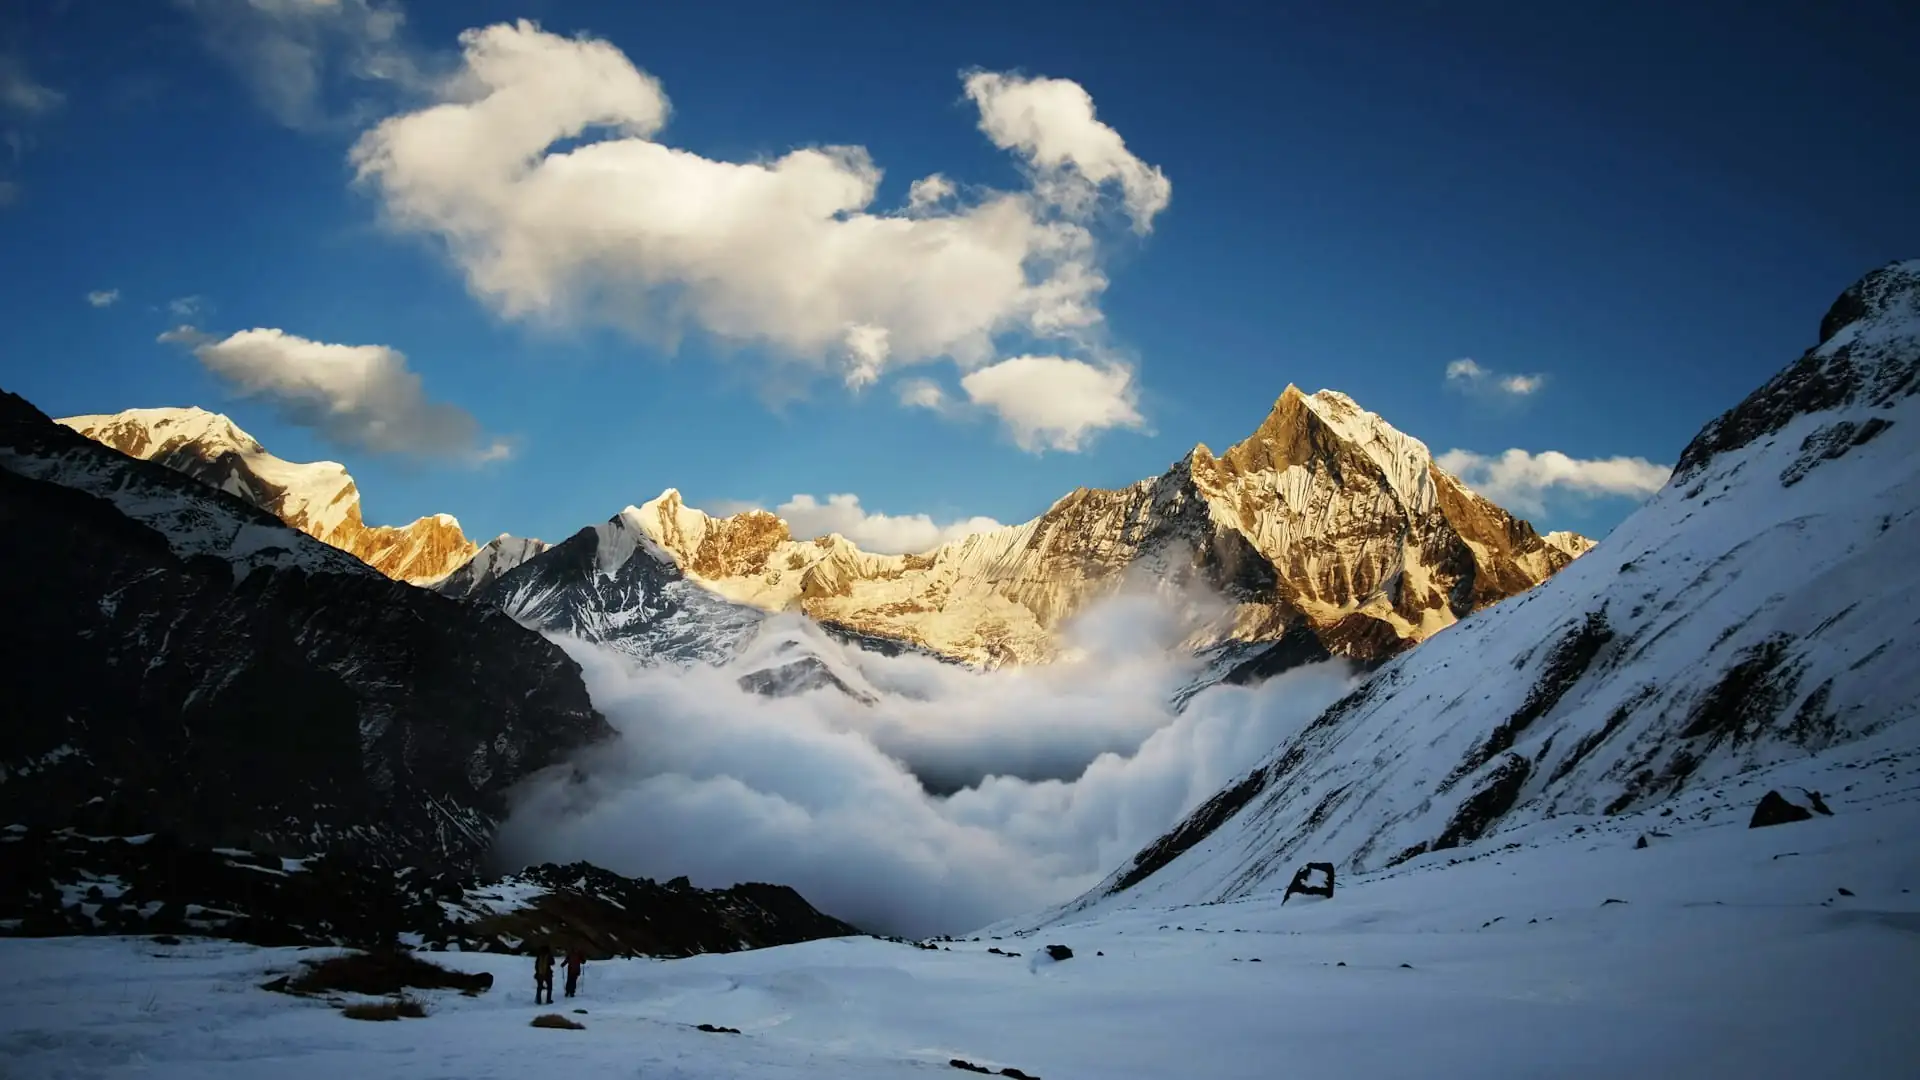
Guide, Porter, and Group Tips
Tip #47: A porter isn't purely a comfort upgrade — it meaningfully reduces fatigue-related risk, particularly at altitude. Carrying a heavy pack yourself above 3,000 meters can increase overall exhaustion in ways that indirectly compound altitude-related strain.
Tip #48: Ask your operator specifically which teahouses they typically use at key stops before booking. An experienced operator will have clear, specific answers based on repeated firsthand experience — a vague or generic answer is worth following up on.
Tip #49: Communicate honestly with your guide throughout the trek, not just when something feels seriously wrong. A good guide reads a group's pace and adjusts rest stops proactively, but that only works if trekkers are forthcoming about how they're actually feeling.
Tip #50: If trekking as part of a group with mismatched fitness levels, discuss pacing expectations with your guide before departure. A group moving at a pace too fast for some members can turn a moderate trek into a genuinely exhausting one — raising this early, rather than mid-trek, leads to a better outcome for everyone.
On-the-Trail Practical Tips
Tip #51: Start each day's walk earlier than feels strictly necessary, particularly on longer stretches. Afternoon cloud buildup is common, especially in spring, and starting earlier generally means better visibility and cooler walking conditions during the more strenuous parts of the day.
Tip #52: Pace yourself deliberately on uphill sections, especially above 3,000 meters. A slow, steady pace that avoids heavy breathlessness is more sustainable across multiple consecutive days than pushing hard and needing longer recovery stops.
Tip #53: Don't underestimate the descent. The trail back down from ABC is, for many trekkers, physically harder on the body than the climb up — steep, sustained, and genuinely tough on knees. Budget real time and energy for this stretch rather than treating it as an afterthought once base camp is reached.
Tip #54: Take rest breaks proactively, not reactively. Short, regular pauses on steep sections — particularly the Ulleri stone staircase and the Chhomrong descent/re-climb — help manage fatigue better than pushing through until you're forced to stop.
Tip #55: Carry a basic personal first aid kit, including blister treatment, pain relievers, and any personal medications, packed in original labeled containers. Small issues caught early (a developing blister, a mild headache) are far easier to manage than ones allowed to escalate.
Cultural and Etiquette Tips
Tip #56: The route passes through Gurung and Magar villages in the lower and mid-elevation sections — modest, respectful behavior, particularly near temples and religious sites, is genuinely appreciated.
Tip #57: Ask before photographing local people, particularly in smaller, more remote villages.
Tip #58: Support locally owned teahouses and services where possible, rather than treating every stop as interchangeable. Given how much of the region's economy depends directly on trekking tourism, this small choice has a real, positive local impact.
Tip #59: Carry out non-biodegradable waste rather than leaving it at teahouses. ACAP permit fees fund conservation work in the region, but individual responsible behavior on the trail matters too, particularly given the fragility of high-altitude ecosystems.
Photography and Experience Tips
Tip #60: Aim for morning light on the approach to ABC and MBC, since afternoon haze — particularly common in spring — can soften long-distance mountain views by midday.
Tip #61: Don't rush your time at Annapurna Base Camp itself. Many trekkers, focused on the physical achievement of arriving, underestimate how quickly altitude and cold can make you want to retreat to a teahouse — build in deliberate time to actually take in the 360-degree Sanctuary views before starting the descent.
Tip #62: Keep spare camera batteries warm in an inner pocket. Cold temperatures at MBC and ABC drain batteries considerably faster than normal, and this is a genuinely easy problem to avoid with minimal effort.
Common Mistakes First-Timers Make (and How to Avoid Them)
Mistake | Why it happens | How to avoid it |
|---|---|---|
Buying boots too close to departure | Underestimating how important break-in time is | Buy at least 6-8 weeks out and train in the actual boots |
Overpacking "just in case" layers | Anxiety about an unfamiliar climate | Trust the four-layer system rather than doubling up on everything |
Underestimating the descent | Focus on reaching ABC, less thought given to the return | Budget real energy and trekking poles specifically for the way down |
Skipping altitude medication conversations until Kathmandu | Assuming it can be sorted last-minute | Discuss Diamox with a doctor 2-3 months before departure |
Not carrying enough small cash | Assuming card payment or ATMs will be available | Withdraw sufficient small-denomination cash before reaching the trailhead |
Pushing through mild AMS symptoms to "keep up" | Social pressure not to slow the group | Report symptoms honestly; a good guide supports this, not penalizes it |
Assuming WiFi/showers will be reliably available throughout | Extrapolating from lower-village facilities | Treat both as unreliable above Chhomrong and plan accordingly |
Booking the shortest possible itinerary to save time/money | Prioritizing speed over comfort | A longer itinerary (10-12 days) meaningfully improves pacing and acclimatization for a modest additional cost |
What Genuinely Surprises First-Time Trekkers
Based on the consistent gaps between expectation and reality across this trek, a few things worth mentally preparing for in advance:
How physically different the stairs feel compared to distance alone. A short day on paper (7-9 km) can be harder than a longer, flatter one, given how much of the trail is built from steep stone steps rather than gentle gradient.
How quickly the climate shifts. Warm, humid lower valleys can feel almost tropical, which makes the sudden cold at MBC and ABC genuinely surprising if you haven't internalized the elevation-driven temperature swing in advance.
How basic the menu becomes near the top. Trekkers used to the fuller menus in lower villages or at Manang-equivalent hubs are sometimes caught off guard by how narrow food options get in the final stretch.
How central the dining hall becomes to the actual experience. Many first-timers expect the mountain views to be the trip's defining memory, and while they're genuinely spectacular, the evenings spent around a teahouse stove with fellow trekkers are just as commonly cited as a highlight afterward.
How much the descent matters. The narrative arc most people imagine ends at ABC itself — but the days getting back down, physically and logistically, are a real and sometimes underestimated part of the trip.
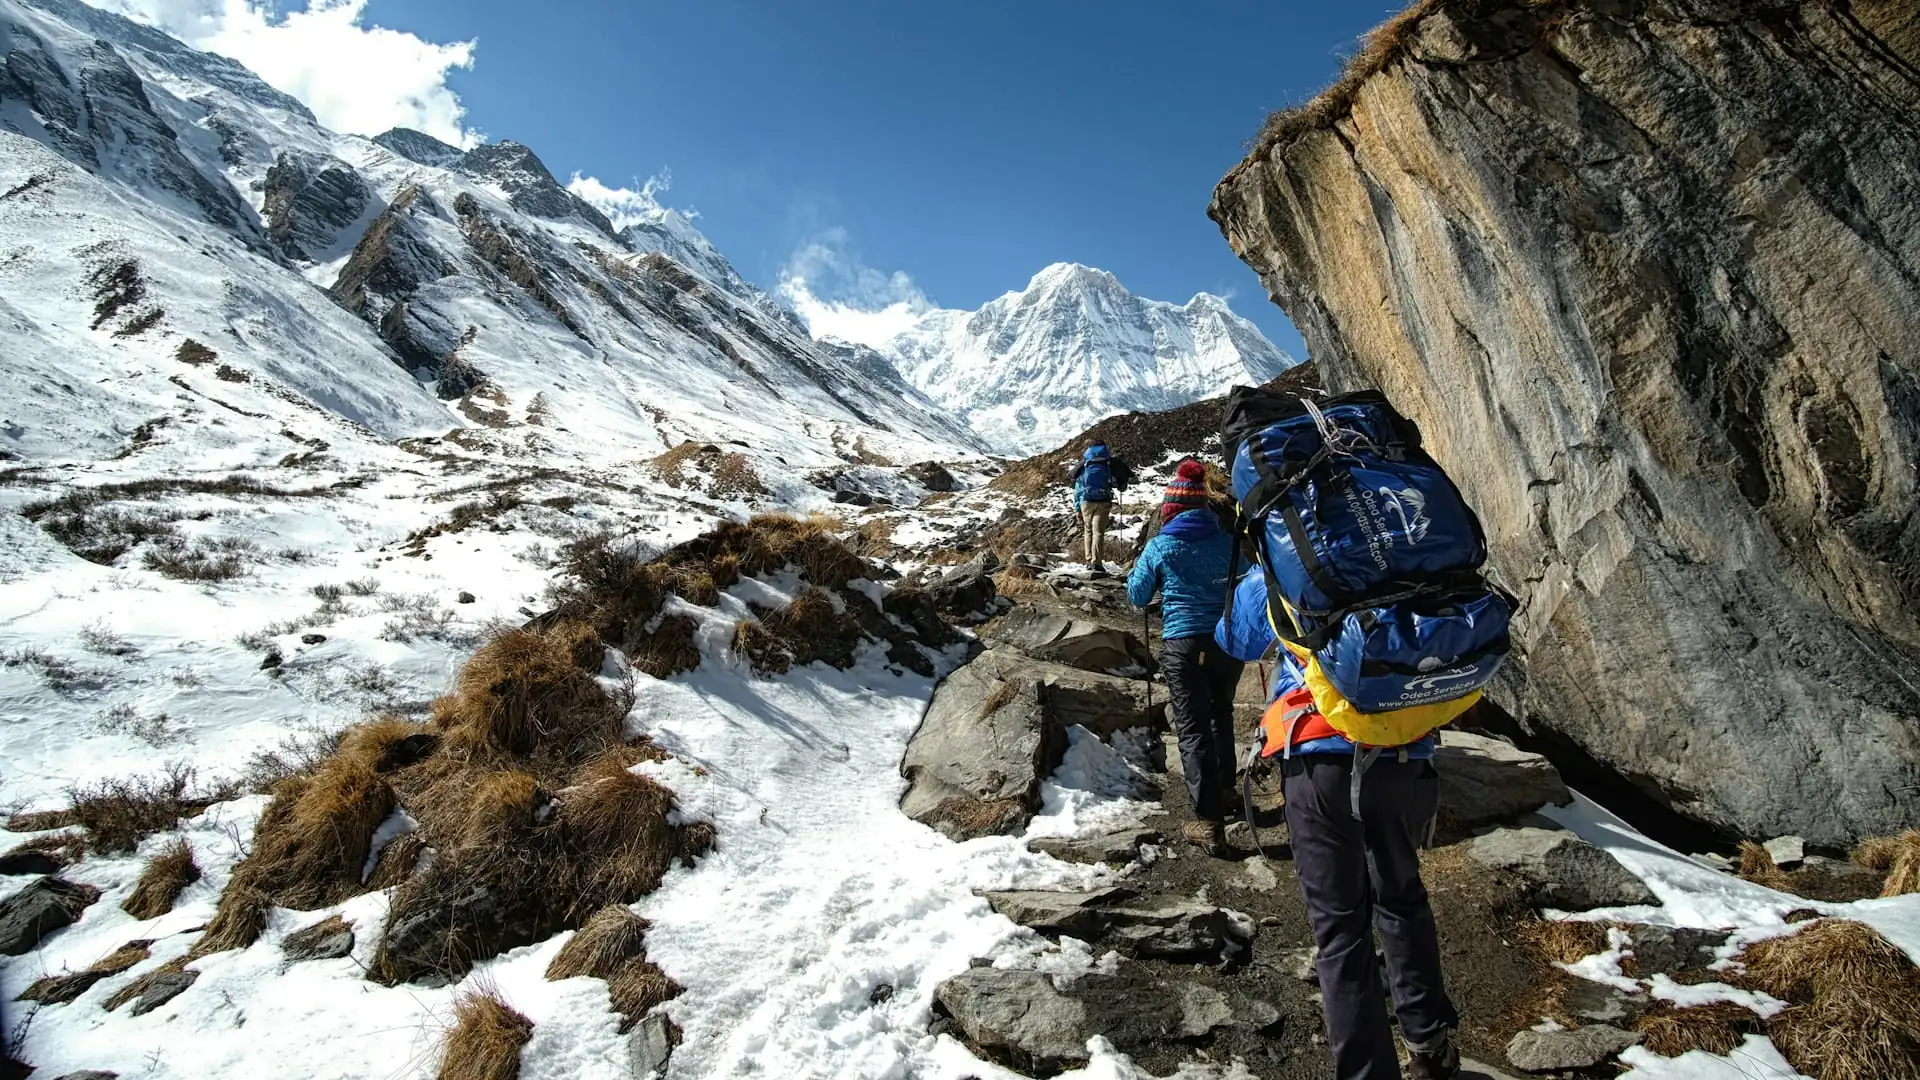
A Quick-Reference Tip Summary by Category
Category | Top 3 tips |
|---|---|
Planning | Know your route configuration; book early for October; confirm the guide requirement |
Money | Cash only above the lower villages; budget extras separately; tip as a real line item |
Fitness | Train specifically for stairs; break in boots early; practice with a loaded daypack |
Altitude | Understand where the real risk concentrates (Deurali-to-ABC); discuss Diamox with a doctor in advance; report symptoms honestly |
Packing | Layer for a genuine climate range; skip cotton; rent bulky gear if you won't reuse it |
Trail | Pace deliberately uphill; respect the descent; take proactive rest breaks |
Culture | Dress and behave modestly near religious sites; ask before photographing people; support local teahouses |
Planning With a Local Nepal Operator
A meaningful share of the tips above — which teahouse to trust at a given stop, how current trail conditions look this specific week, whether an extra acclimatization day is worth adding given how your group is doing — genuinely benefit from real, current, local knowledge rather than a static guide.
This is where working with an experienced, locally based operator like Adventure Life Nepal adds practical value beyond a packing list: guides who walk this specific route regularly, who know current teahouse quality and permit requirements firsthand, and who can make informed, real-time calls on pacing, route choice, and comfort trade-offs that no general tips article can fully anticipate for your specific trip.
Frequently Asked Questions about Annapurna Base Camp Trek Tips
1. What's the single most useful tip for a first-time ABC trekker?
Train specifically for stairs, not just general cardio — the trek's toughest physical element is consistently its extensive stone staircase sections, and stair-specific training delivers a disproportionate benefit relative to general fitness training alone.
2. Is a guide really required for this trek now?
Yes — since April 2023, a licensed guide has been required for most Annapurna region trekking routes, including ABC, effectively removing fully independent solo trekking as an option.
3. How much cash should I carry, and why does it matter so much?
A daily budget of roughly USD 35-50 covers most trekkers' full range of expenses, and carrying enough small-denomination cash matters because ATMs and card payment become unreliable or nonexistent above the lower trailhead towns.
4. What's the most commonly underestimated part of the trek?
The descent — many first-timers focus their mental and physical preparation on reaching Annapurna Base Camp, but the steep, sustained walk back down is genuinely harder on the knees and deserves equal preparation.
5. Should I take Diamox for this trek?
It's a personal medical decision to discuss with a doctor before departure — many trekkers use it preventively given ABC's genuine altitude exposure at 4,130 meters, but it should never be improvised last-minute in Nepal.
6. What should I expect regarding food as I climb higher?
The menu narrows considerably above Deurali, given how difficult it is to keep remote, high-altitude teahouses stocked — expect mainly dal bhat and simple noodle dishes in the trek's final stretch rather than the fuller range available lower down.
7. Is WiFi reliable throughout the trek?
No — it's generally available up to Chhomrong but becomes increasingly unreliable at higher elevations, so downloading anything important before you climb higher is a genuinely useful habit.
8. How should I budget for tips?
Roughly USD 5-10 per day per trekker for guide and porter services combined is a commonly cited guideline, typically given as a lump sum at the end of the trek.
9. What's the biggest packing mistake people make?
Overpacking cotton clothing and unnecessary "just in case" extra layers, while underestimating how cold it actually gets at Machhapuchhre Base Camp and Annapurna Base Camp specifically.
10. Should I hire a porter even if I'm reasonably fit?
Yes, generally worth considering — carrying a heavy pack yourself above 3,000 meters can meaningfully increase fatigue in ways that indirectly compound altitude-related strain, beyond simply being a comfort choice.
11. Which month should I choose if I want good weather without peak crowds?
Late November is a commonly recommended alternative to October, offering similarly stable, clear conditions with meaningfully fewer trekkers on the trail.
12. What should I do if I start feeling symptoms of altitude sickness?
Stop ascending, rest, hydrate, and monitor closely for 12-24 hours. If symptoms worsen or include confusion, chest tightness, extreme fatigue, or difficulty walking, descend immediately rather than pushing forward.
13. How important is it to break in my boots before the trek?
Very important — new boots on a multi-day trek is one of the most common and entirely preventable causes of blister-related trip disruption, and several weeks of regular pre-trip wear in your actual trekking boots makes a real difference.
14. Is it worth booking a longer itinerary even if a shorter one is available?
Generally yes, if your schedule allows — a longer itinerary (10-12 days) spreads the same distance and elevation gain more gradually, meaningfully improving both comfort and acclimatization compared to a compressed version.
Final Thoughts on Annapurna Base Camp Trek Tips
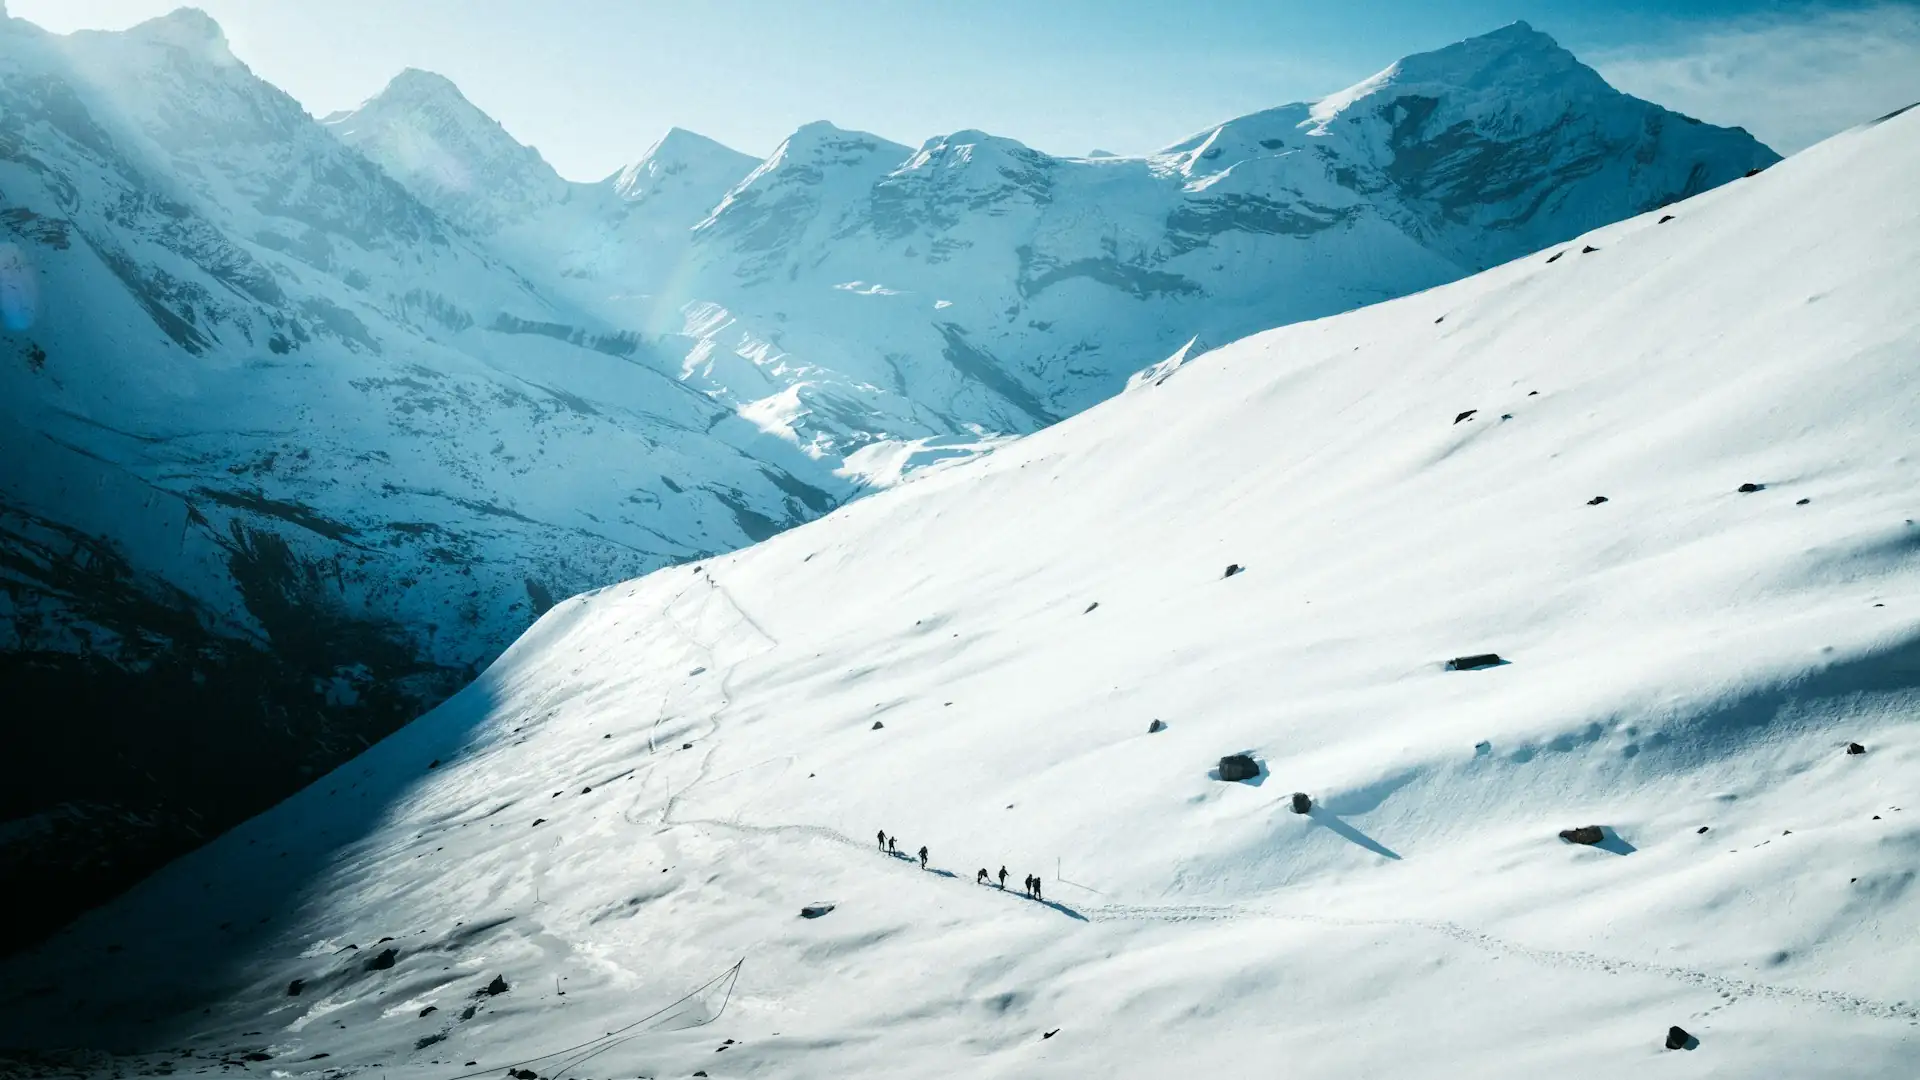
The Annapurna Base Camp trek rewards preparation that goes beyond the standard packing list and generic altitude warnings — understanding where the real physical challenge concentrates (the stairs, not just the altitude), where the real financial planning matters (cash above the lower villages, extras beyond the headline package price), and where the real comfort trade-offs happen (the narrowing menu and basic facilities above Chhomrong) turns a trip built on guesswork into one built on genuine, specific readiness.
None of these tips change the fundamental trek — the same climb, the same 4,130-meter destination, the same Annapurna Sanctuary views waiting at the end — but they change how well you handle everything the trail actually throws at you along the way, which is, in the end, what separates a trip you merely survived from one you'd do again.