How to Prepare for Annapurna Circuit: Step by Step
Introduction to How to Prepare for Annapurna Circuit
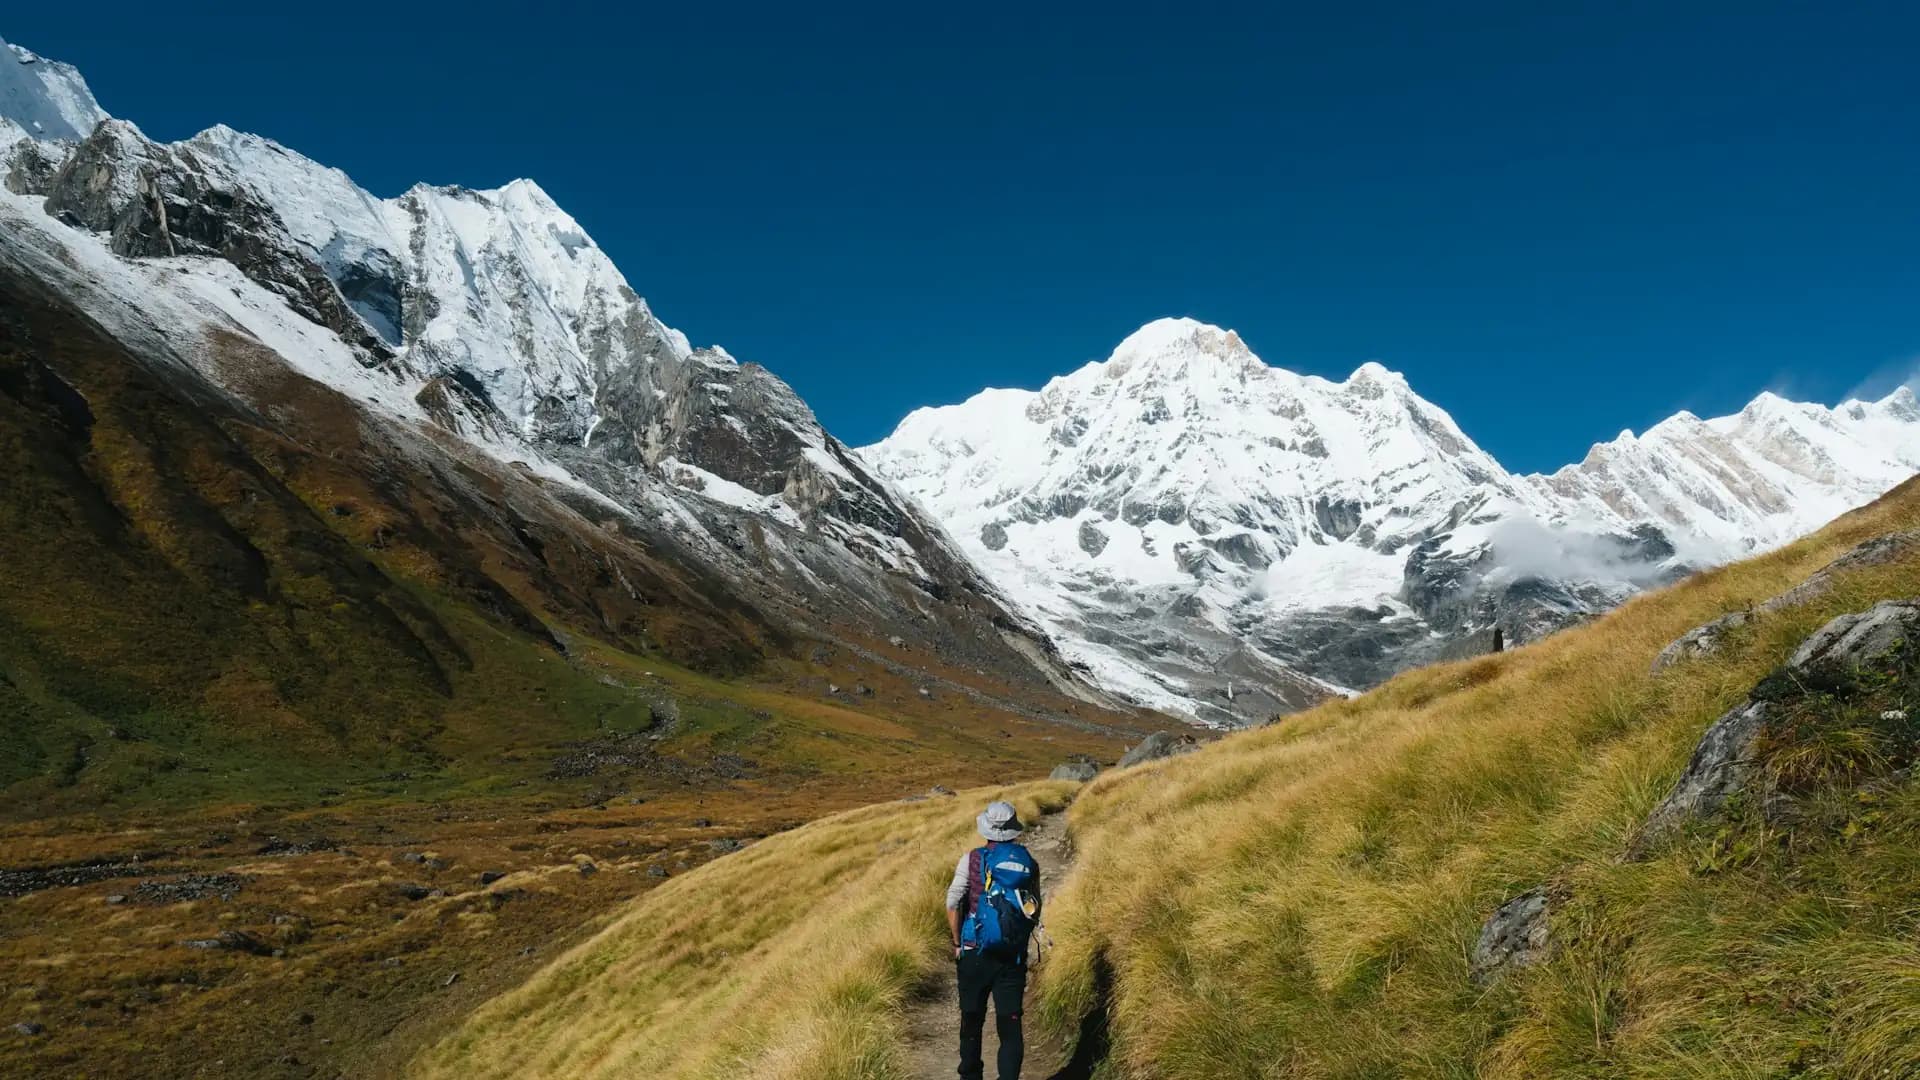
The Annapurna Circuit doesn't fail people because it's impossible — it fails people because of gaps in preparation that are entirely avoidable months in advance. A visa that wasn't sorted before a flight with an inconvenient layover. A boot bought two weeks before departure and never broken in.
A trekking insurance policy that turns out not to cover the altitude actually reached at Thorong La. A fitness routine that started, optimistically, three weeks before a 12-16 day trek that climbs to 5,416 meters. None of these are dramatic mistakes. They're just gaps — and on a route this long, this remote, and this dependent on your body adapting well to serious altitude, small gaps compound.
This guide is built as an actual step-by-step preparation plan, not a loose collection of tips. It starts months out, works through fitness, documents, gear, budget, and logistics in the order you'd actually address them, and ends with the final days before departure and the trek itself.
Every fact, cost figure, and requirement below has been checked against current information, because "prepare properly" is only useful advice if the specifics behind it are accurate.
The Preparation Timeline at a Glance
Timeframe before departure | Key preparation tasks |
|---|---|
4-6 months out | Choose your itinerary and season, book with an operator, start a baseline fitness assessment, check passport validity |
3-4 months out | Begin structured fitness training, sort travel insurance, research and begin gear shopping, schedule a medical checkup |
6-8 weeks out | Ramp up cardio and stair-specific training, finalize gear list, confirm visa method (online e-Visa vs. on-arrival), discuss altitude medication with a doctor |
3-4 weeks out | Break in trekking boots fully, do longer training hikes with a loaded daypack, confirm permits are being arranged, review packing list in full |
1-2 weeks out | Final gear check, currency/cash planning, confirm flight and transport logistics, back up documents digitally |
Final days | Pack, reconfirm pickup/logistics with your operator, get a good night's sleep before travel, arrive in Kathmandu with buffer days if possible |
The rest of this guide expands each of these stages in detail.
Step 1: Choose Your Itinerary and Season
Decide on Trek Length
The Annapurna Circuit can be completed in several different formats, and this decision shapes almost everything else in your preparation.
Itinerary style | Typical duration | Notes |
|---|---|---|
Classic full walking route | 18-21 days | The most gradual elevation profile; increasingly rare as roads have shortened lower sections |
Standard modern itinerary | 12-16 days | The most common choice today, using jeep transport on the lower Besisahar-to-Chame stretch |
Shortened, road-supported | 8-11 days | Faster and more affordable, but less acclimatization buffer |
Extended (with Tilicho Lake and/or Nar Phu Valley) | 16-21+ days | Adds significant side trips requiring restricted-area permits |
For most first-time trekkers, a 12-16 day itinerary is the sensible default — long enough to acclimatize properly, short enough to be practical for most vacation schedules.
Decide on Season
Season | Months | Suitability |
|---|---|---|
Spring | March-May | Good visibility, warmer temperatures, second-best season overall |
Monsoon | June-August | Generally avoided — heavy rain, poor visibility, higher landslide risk |
Autumn | September-November | The most popular and generally most reliable season, especially October-November |
Winter | December-February | Possible but requires checking current pass conditions, since Thorong La can become snow-blocked |
Booking your season early matters because it directly affects gear needs, permit timing, and how far in advance you should book teahouses or a guided package, particularly for the busy October window.
Step 2: Book With a Reliable Operator (or Confirm Your Independent Plan)
Why a Guide Is Now Required
Since regulatory changes in 2023, Nepal now requires trekkers in the Annapurna region to be accompanied by a licensed guide — solo, fully independent trekking is no longer permitted, and this is enforced at permit checkpoints along the route.
This single fact should shape your booking decision early, since it removes "go it alone" as a viable option regardless of your prior trekking experience.
What a Full-Service Booking Typically Includes
Included in a standard package | Typically not included |
|---|---|
Permits (ACAP, TIMS) | International flights |
Licensed guide | Nepal tourist visa fee |
Porter | Tips for guide/porter (commonly USD 5-10/day) |
Teahouse accommodation | Hot showers, WiFi, battery charging at teahouses |
Meals during the trek | Personal gear |
Ground transportation (Kathmandu-Besisahar and trek end-Pokhara) | Travel insurance |
What Guides and Porters Typically Cost
If arranging services independently through a local operator rather than a fully bundled international package, typical rates run roughly as follows:
Service | Typical daily rate |
|---|---|
Licensed trekking guide | Roughly USD 25-35 per day |
Porter | Roughly USD 20-25 per day, typically carrying bags for two trekkers with a maximum load of 20-25kg |
Hiring a porter isn't purely a comfort choice — carrying a heavy pack yourself above 3,000 meters can meaningfully increase fatigue and, indirectly, altitude sickness risk, which is part of why porter support is so commonly recommended rather than treated as an optional luxury.
Choosing Between Local, International, and Online Booking Options
Booking route | General price range (14-day trek) | Trade-offs |
|---|---|---|
Local Nepali tour operators | Roughly $699-$2,499 | Most competitive pricing, direct relationships with local service providers, no added international agent commission |
International tour operators | Roughly $1,999-$4,499 | Often collaborate with local Nepali companies; may add pre-trip support and higher customer service layers, at a higher price |
Online travel agents (intermediaries) | Roughly $999-$2,999 | Convenient comparison shopping, but adds a booking layer between you and the actual ground operator |
Working directly with an experienced, locally based operator like Adventure Life Nepal is a common middle-ground choice for trekkers who want competitive local pricing without sacrificing organized, professional support — since the guide and porter team you're working with is the same team actually walking the trail with you, rather than a subcontracted arrangement several layers removed from the booking company.
Step 3: Sort Your Nepal Visa
Visa Requirements
All foreign travelers except Indian nationals require a Nepalese tourist visa to enter the country; Chinese passport holders may also be eligible for free entry under certain diplomatic agreements.
Nearly everyone else needs to obtain a visa either online in advance or on arrival at Tribhuvan International Airport in Kathmandu.
Current Visa Fees (2026)
Visa duration | Fee |
|---|---|
15 days | USD 30 |
30 days | USD 50 |
90 days | USD 125 |
Most trekkers choose the 30-day visa, since it comfortably covers the full Circuit itinerary plus buffer days for weather delays, flight cancellations, or extra rest days if needed.
How to Get It
On arrival: Head to the Visa-on-Arrival desk at Kathmandu Airport, fill out the application form (available electronically at a kiosk or completed online beforehand), and pay at the payment counter.
Payment must be made in a major convertible currency, with US dollars generally preferred — no change is given, so carrying the exact amount is worth doing.In advance (eVisa): Available through the official Nepal Immigration website ahead of departure, which can save time at the arrival desk.
Documents Needed
A valid passport with at least 6 months of validity remaining beyond your arrival date, with a free page
One or two passport-sized photos (a paper backup is worth carrying even if the airport kiosk takes a photo, in case a machine is down)
The visa fee, ideally in cash (US dollars)
Extending a Visa
If your trek or travel plans run longer than expected, visas can be extended at immigration offices in Kathmandu or Pokhara for approximately USD 3 per day, with a minimum 15-day extension and an annual cap of 150 days total.
Step 4: Understand and Plan for Permits
The Two Core Permits
Permit | Cost | Purpose |
|---|---|---|
ACAP (Annapurna Conservation Area Permit) | Roughly USD 23-30 for foreign nationals (NPR 3,000, or a flat USD 30 rate cited by some operators) | Supports conservation, trail maintenance, and local infrastructure development in the Annapurna Conservation Area |
TIMS Card (Trekkers' Information Management System) | Roughly USD 15-17 (NPR 2,000) | Trekker registration and safety tracking; requirement enforcement has varied somewhat since 2023, so confirming current status with your operator before departure is worth doing |
Together, these two permits typically add roughly USD 40-50 to your total trip budget — a small cost relative to the trek itself.
Where to Get Permits
Permits can be obtained at the Nepal Tourism Board office in Kathmandu (Bhrikutimandap) or Pokhara (Damside), or arranged online in advance via the official e-permit portal. Most guided trekking packages, including those booked through a local operator, handle this paperwork directly as part of the package.
Additional Permits for Side Trips
Side trip | Additional permit needed |
|---|---|
Tilicho Lake | Small supplementary fee for the designated restricted zone |
Nar Phu Valley | A separate restricted-area permit; extends total permit cost to roughly USD 130-150 |
Upper Mustang | A significant additional restricted-area permit, historically around USD 500 for a 10-day period |
If you're planning to extend your Circuit trek into any of these side routes, factor the additional permit cost and processing time into your booking timeline.
Step 5: Build Your Fitness
Why Training Matters More Than Raw Athleticism
The Annapurna Circuit doesn't require elite athletic fitness, but it does require sustained walking stamina across 12-16+ consecutive days, the ability to handle a significant single-day altitude push at Thorong La, and enough general conditioning to reduce fatigue-related risk at altitude.
Cardiovascular fitness is a weaker predictor of altitude sickness susceptibility than most people assume, but it strongly affects how comfortably you handle the trek's physical demands day to day.
A Structured Training Timeline
Timeframe | Training focus |
|---|---|
4-6 months out | Baseline fitness assessment; begin regular cardio 2-3x per week if not already active |
3-4 months out | Build to 3-4x per week cardio sessions; introduce hill walking or stair climbing |
6-8 weeks out | Add load-bearing walks with a daypack; increase weekend hike distances progressively |
3-4 weeks out | Longest training hikes of the cycle; break in boots fully during these sessions |
Final 1-2 weeks | Taper training intensity; focus on rest and recovery rather than pushing harder |
What to Actually Train
Focus area | Why it matters for this specific trek | Suggested approach |
|---|---|---|
Cardiovascular endurance | Sustains multi-hour daily walking across consecutive days | Walking, hiking, running, cycling, swimming |
Leg strength | Reduces fatigue and injury risk on steep ascents and, especially, the steep Thorong La descent | Squats, lunges, step-ups |
Stair/hill climbing capacity | Directly prepares for sustained elevation gain sections like Dharapani to Chame | Stair machine, repeated hill climbs |
Load-bearing walking | Simulates carrying a daypack over multi-hour walks | Practice hikes wearing your actual trekking daypack |
Balance and ankle stability | Uneven mountain trail surfaces reward stability | Single-leg balance work, uneven-terrain walks |
A Simple Fitness Benchmark
If you can comfortably walk several kilometers without stopping and climb multiple flights of stairs without significant breathlessness, you're at a reasonable starting fitness level to build a proper training program on top of before departure.
Step 6: Schedule a Medical Checkup
Why This Matters Before, Not During, the Trek
A pre-trip medical checkup, ideally 2-3 months before departure, gives you time to address anything that comes up rather than discovering it mid-trek. This is particularly relevant given the Circuit's genuine high-altitude exposure at Thorong La (5,416m).
What to Discuss With Your Doctor
General fitness to trek at altitude, particularly if you have any history of heart, lung, or blood pressure conditions
Preventive altitude medication (Diamox/acetazolamide) — a prescription decision that should be made well before departure, not improvised in Kathmandu
Any personal medications you take regularly, ensuring you have enough supply for the full trip plus buffer days, packed in original labeled containers
Relevant vaccinations, which vary based on your home country and planned activities but commonly discussed for Nepal travel include routine vaccinations (MMR, tetanus, etc.) alongside destination-specific considerations like Hepatitis A and Typhoid — specific vaccination needs should be confirmed with a travel medicine clinic or doctor based on current guidance, since recommendations can shift
A test dose of Diamox at home, if prescribed, since some side effects (tingling in fingers/toes, mild nausea) can be confused with early AMS symptoms on the trail itself
Step 7: Sort Travel Insurance
Why This Is Non-Negotiable for This Specific Trek
Given the Circuit's genuine high-altitude exposure, travel insurance isn't a nice-to-have add-on — it's a core preparation step, specifically because severe altitude sickness can require rapid descent and helicopter evacuation, which is extremely costly without coverage.
What Your Policy Needs to Include
Coverage type | Why it matters |
|---|---|
High-altitude trekking coverage | Standard travel insurance often excludes activities above a certain altitude threshold (sometimes as low as 3,000-4,000m) — verify your policy explicitly covers trekking up to at least 5,416m |
Emergency medical evacuation | Should specifically include helicopter evacuation, given the remote terrain around Thorong La and the difficulty of ground-based emergency response at that elevation |
Medical treatment coverage | For any injury or illness requiring treatment in Nepal |
Trip cancellation/interruption | Useful given the genuine possibility of flight delays (particularly Jomsom-Pokhara flights) or pass closures affecting your itinerary |
Gear loss/theft | A secondary but worthwhile inclusion |
Typical Cost
Most travelers spend roughly USD 50-150 on travel insurance for a 2-4 week trip, with costs varying based on age, trip length, and coverage level. This is a genuinely worthwhile expense relative to the potential cost of an uninsured helicopter evacuation, which can run into the thousands of dollars.
A Practical Tip
Always verify your policy's specific altitude coverage limit before purchasing — a generic travel insurance policy that covers "trekking" without specifying an altitude ceiling may not actually cover an emergency at Thorong La's 5,416 meters.
Step 8: Plan Your Budget
Overall Cost Ranges by Trek Style
Style | What it typically includes |
|---|---|
Budget | Basic teahouses, dal bhat at most meals, public buses for transport, no porter — doable but physically demanding |
Standard | Licensed guide, porter, a mix of teahouses and mid-range lodges, private transport from Kathmandu — the choice most international trekkers make |
Luxury | Private vehicles, upgraded accommodation, an experienced senior guide, side trips like Tilicho Lake, full-service support throughout |
Daily On-Trail Budget (Independent Costs Beyond a Package)
A trekker on the trail generally needs roughly USD 25-40 per day for teahouse accommodation, food, and incidentals, before factoring in permits and guide/porter fees — useful to know even if booking a guided package, since it helps estimate extras like hot showers, WiFi, snacks, and bottled drinks.
What a Full Package Typically Costs
Local Nepali tour operators typically price a 14-day Annapurna Circuit trek roughly between USD 699 and USD 2,499, depending on group size, accommodation standard, and included services — a useful benchmark range when comparing quotes.
Items Commonly Excluded From Packages
International flights to/from Nepal (roughly USD 600-1,500 round trip depending on departure city, generally cheaper from nearby Asian countries than from Europe or North America)
Nepal tourist visa fee (USD 30-50 typically)
Tips for guide and porter (commonly USD 5-10 per day per person, though this varies by group and service)
Hot showers, WiFi, and device charging at teahouses (small per-use fees, more expensive at higher elevations)
Personal gear
Travel insurance
An emergency buffer fund
A Sensible Emergency Buffer
Beyond your planned budget, it's worth carrying some additional cash buffer for unexpected costs — a flight delay requiring an extra night in Pokhara, an unplanned rest day, or emergency transport costs not otherwise covered.
Step 9: Sort Domestic Flights and Transport Logistics
Kathmandu to Pokhara
Most trekkers fly or take a tourist bus from Kathmandu to Pokhara before beginning the trek, since Pokhara is the practical gateway to the Annapurna region.
Pokhara/Kathmandu to Besisahar or Chame
Ground transport (private jeep or shared bus) is typically arranged as part of a guided package, covering the trailhead approach.
Jomsom to Pokhara Flight (Optional Return)
Many trekkers choose to fly from Jomsom back to Pokhara after completing the pass crossing, rather than walking the full southern loop through Ghorepani. For foreign nationals, this flight typically costs roughly USD 150-170 one way.
Flights may be delayed or canceled due to weather — a genuinely common occurrence given Jomsom's notoriously wind-affected airstrip — so building a flexible schedule with buffer days is strongly advisable rather than booking an immediate onward international flight the same day.
Step 10: Build and Break In Your Gear
This deserves its own dedicated guide (and this operator maintains one), but the core preparation-timeline points worth flagging here:
Gear category | Preparation timing |
|---|---|
Trekking boots | Buy at least 6-8 weeks before departure; break in thoroughly through actual training hikes, not just casual wear |
Sleeping bag (appropriately rated for your season) | Buy or arrange rental 4-6 weeks before departure |
Layering system (base, mid, insulation, shell) | Assemble progressively over the months leading up to departure |
Trekking poles | Not urgent to source early, but worth having and testing before the trip |
First aid kit and personal medications | Assemble in the final 2-4 weeks, checking expiration dates |
Renting vs. Buying
Both Kathmandu (particularly Thamel) and Pokhara have well-established trekking gear rental markets, offering sleeping bags, down jackets, trekking poles, and other bulkier items — a practical option for travelers who don't want to fly with heavy cold-weather gear, particularly for a single trip.
Step 11: Sort Money and Cash Planning
Currency
Nepal's currency is the Nepali Rupee (NPR), with an approximate exchange rate around NPR 135 to USD 1 (rates fluctuate, so check current rates closer to departure).
Why Cash Matters More Than Cards on This Trek
ATMs become unreliable or nonexistent above Pokhara and the lower trailhead towns, and card payment is essentially nonexistent on the trail itself. Carrying sufficient cash for the entire trek — teahouse meals not included in your package, snacks, hot showers, device charging, tips, and any incidentals — is essential.
Practical Cash Tips
Withdraw or exchange the bulk of your trekking cash in Kathmandu or Pokhara before heading to the trailhead
Carry small denominations, since teahouses in remote villages often can't make change for large notes
Budget for tips separately — commonly USD 5-10 per day for guide/porter services, though exact customary amounts can vary and are worth confirming with your operator
Step 12: Prepare Documents and Digital Backups
Physical Documents to Carry
Passport (original)
Nepal visa (on arrival or pre-arranged eVisa confirmation)
ACAP and TIMS permit copies
Travel insurance policy details and emergency contact numbers
A photocopy of your passport, kept separately from the original
Digital Backups
Scan or photograph all key documents (passport, visa, insurance policy, permits) and store them in cloud storage accessible without relying solely on your phone
Share your itinerary and emergency contact information with someone at home before departure
Save your trekking operator's emergency contact number in your phone and, ideally, written down as a physical backup in case of phone battery or signal failure
Step 13: Mental and Practical Preparation for the Trail Itself
Understanding What Daily Life on the Trail Looks Like
Days typically begin early, particularly as you approach Thorong La, where pre-dawn starts (often before 4-5am) are standard to avoid strong afternoon winds at the pass
Teahouse accommodation is basic but functional — shared bathrooms are common, especially at higher elevations, and hot showers or charging often carry a small additional fee
Wi-Fi and phone signal become increasingly unreliable above the mid-route villages, particularly beyond Chame
Evenings are typically quiet, centered around the teahouse dining room — bringing a book, cards, or other lightweight entertainment is worth considering
Laundry service is unreliable above the lower villages, so packing enough clothing for several consecutive days without washing is standard practice
Setting Realistic Expectations
Expect genuine physical fatigue, particularly in the days leading up to and immediately following the Thorong La crossing
Expect some degree of mild altitude-related discomfort (headache, reduced appetite, disturbed sleep) even without full AMS — this is common and, with proper pacing, usually manageable
Expect weather variability, particularly in shoulder seasons, and build flexibility into your mindset rather than fixed expectations for perfect conditions every day
Step 14: Learn the Acclimatization Rules Before You Go
Since this is where most serious trek-ending problems actually originate, it's worth internalizing the core rules well before departure rather than learning them for the first time on the trail:
No more than roughly 300-500 meters of net elevation gain per night once sleeping above 3,000 meters is a commonly cited general safety guideline
The Manang acclimatization day is not optional padding — it's a core safety feature of the standard itinerary, positioned at almost exactly the altitude where AMS risk starts becoming relevant
Mild symptoms (headache, fatigue, nausea, dizziness) mean stop and monitor, not push through
Worsening symptoms, or symptoms including confusion, chest tightness, extreme fatigue, or difficulty walking, mean immediate descent, not a wait-and-see approach
Diamox, if prescribed, is a supplement to gradual ascent, not a substitute for it
A deeper breakdown of this topic exists in a dedicated acclimatization guide, but understanding these core rules before departure — rather than reading about them for the first time mid-trek — genuinely changes how well-prepared you'll feel to make good decisions on the trail.
Step 15: Understand Basic Trail Etiquette and Local Culture
Cultural Respect Along the Route
The Circuit passes through Hindu-majority lowland villages, Gurung and Magar communities in the lower-mid hills, and increasingly Tibetan Buddhist culture as you approach Manang and cross toward Muktinath — a genuinely significant pilgrimage site sacred to both Hindus and Buddhists.
Modest dress, particularly near temples and monasteries, and respectful behavior around religious sites and local customs go a long way toward positive interactions along the route.
Trail Right-of-Way Customs
Yield to pack animals (mules, yaks) on narrow trail sections, generally moving to the uphill side of the trail when they pass
Walk clockwise around mani walls and chortens (Buddhist religious structures), a traditional custom worth observing as you pass through Buddhist-influenced villages
Responsible Trekking Practices
Carry out non-biodegradable waste rather than leaving it at teahouses
Support locally owned teahouses and services where possible
Ask before photographing local people, particularly in more remote villages
Step 16: The Final Two Weeks Before Departure
Task | Details |
|---|---|
Final gear check | Lay out your full packing list and confirm everything is present and functional |
Confirm boots are fully broken in | You should have logged multiple training hikes in the exact boots you're bringing |
Reconfirm logistics with your operator | Pickup times, flight details, meeting points in Kathmandu/Pokhara |
Currency exchange | Arrange initial cash needs before arrival, or plan your first exchange stop in Kathmandu |
Digital document backups | Ensure everything is scanned and accessible via cloud storage |
Check weather/pass conditions | If trekking in shoulder season or winter, check current Thorong La conditions with your operator |
Pack medications | Ensure sufficient supply for the full trip plus buffer days, in original labeled containers |
Rest and taper training | Avoid intense, injury-risking training in the final week; prioritize sleep and recovery |
Step 17: Arrival in Nepal — What to Expect
Arriving in Kathmandu
Complete visa formalities at the Visa-on-Arrival desk (or use your pre-arranged eVisa)
Meet your operator's representative if arranged, or make your way to accommodation
Build in at least one buffer day in Kathmandu before heading to Pokhara, in case of flight delays or jet lag recovery time
Kathmandu to Pokhara
Flight (roughly 25-30 minutes) or tourist bus (roughly 6-8 hours) — most guided packages arrange this as part of the itinerary
Pokhara to the Trailhead
Private jeep or shared transport to Besisahar or, for shortened itineraries, directly to Chame or Dharapani
Final gear and permit checks typically happen here before the trek proper begins
Common Preparation Mistakes to Avoid
Buying boots too close to departure and skipping proper break-in — one of the most preventable causes of trek-disrupting blisters
Underestimating the visa and permit timeline, particularly if planning a side trip requiring a restricted-area permit like Nar Phu or Tilicho, which can require additional processing time
Skimping on travel insurance or purchasing a policy without verifying its actual altitude coverage limit
Assuming fitness alone prevents altitude sickness and rushing the ascent schedule as a result
Not carrying enough cash, given the near-total absence of card payment and ATM access above the lower trailhead towns
Booking an immediate onward international flight right after the planned trek end date, without buffer days for weather delays (particularly Jomsom flight cancellations)
Not discussing Diamox with a doctor in advance, leaving this decision to be improvised in Kathmandu
A Complete Pre-Departure Checklist
Documents
Passport (6+ months validity)
Visa (arranged or on-arrival plan confirmed)
Travel insurance with confirmed high-altitude coverage
Permit arrangements confirmed with operator (ACAP, TIMS, any restricted-area permits)
Digital backups of all key documents
Health
Medical checkup completed
Altitude medication discussed with a doctor, if applicable
Relevant vaccinations confirmed with a travel medicine provider
Personal medications packed with sufficient supply
Fitness
6-8+ weeks of structured training completed
Boots fully broken in through actual training hikes
Comfortable walking multiple kilometers and climbing stairs without excessive breathlessness
Logistics
Operator/guide/porter arrangements confirmed
Kathmandu-Pokhara transport booked
Buffer days built into the overall trip schedule
Emergency contacts shared with someone at home
Money
Sufficient cash budgeted and partially exchanged
Tip budget planned separately
Emergency buffer fund set aside
Gear
Full layering system assembled
Sleeping bag appropriately rated for season
First aid kit assembled and checked
Preparing With Adventure Life Nepal
A significant part of preparing well for the Annapurna Circuit is simply not having to solve every logistical problem yourself. Working with an experienced, locally based operator like Adventure Life Nepal shifts much of this preparation burden — permit arrangement, guide and porter coordination, transport logistics, and current, on-the-ground knowledge of trail and pass conditions — onto a team that handles it for this specific route continuously, rather than something you're piecing together for the first time from guides like this one.
That doesn't remove the need for personal preparation (fitness, gear, documents, and mindset are still yours to handle) — but it does mean the logistical scaffolding around your trek is built by people who know exactly what current conditions, current permit rules, and current best practices actually look like on the ground.
Frequently Asked Questions about how to Prepare for Annapurna Circuit
1. How far in advance should I start preparing for the Annapurna Circuit?
Ideally 4-6 months out, giving enough time for structured fitness training, a medical checkup, gear assembly and boot break-in, and sorting visa, permits, and insurance without last-minute pressure.
2. Do I need a guide for the Annapurna Circuit?
Yes. Since 2023 regulations, solo independent trekking is no longer permitted in the Annapurna region, and this is enforced at permit checkpoints — a licensed guide is required.
3. How much does the Nepal tourist visa cost?
As of 2026, fees are USD 30 for 15 days, USD 50 for 30 days, and USD 125 for 90 days. Most trekkers choose the 30-day option to comfortably cover the trek plus buffer days.
4. What permits do I need for the standard Annapurna Circuit route?
The ACAP (Annapurna Conservation Area Permit, roughly USD 23-30) and the TIMS card (roughly USD 15-17), together typically adding USD 40-50 to your total budget.
5. How much fitness training do I actually need?
Most guides recommend at least 6-8 weeks of structured cardiovascular and stair-specific training, building toward comfortably walking several kilometers and climbing multiple flights of stairs without significant breathlessness.
6. Should I buy or rent my trekking gear?
Either works. Kathmandu and Pokhara both have well-established rental markets for bulkier items like sleeping bags and down jackets, while boots and base layers are generally better bought and broken in ahead of time for fit and hygiene reasons.
7. How much should I budget for the full trip?
A guided package typically runs roughly USD 699-2,499 for a 14-day trek depending on service level, before adding international flights, visa fees (USD 30-50), tips (commonly USD 5-10/day), and personal incidentals.
8. Is travel insurance really necessary?
Yes, and it should specifically cover high-altitude trekking up to at least 5,416 meters along with emergency helicopter evacuation — standard travel insurance sometimes excludes activities above a certain altitude threshold, so this needs to be verified before purchase.
9. Do I need to discuss Diamox with a doctor before the trip?
Yes — this is a prescription decision that should be made with a doctor familiar with your health history well before departure, not decided or improvised once you're already in Nepal.
10. How much cash should I carry on the trek?
Enough to cover any expenses not included in your package (hot showers, WiFi, snacks, extra drinks) plus tips, since ATMs disappear above the lower trailhead towns and card payment is essentially nonexistent on the trail.
11. What's the most commonly overlooked preparation step?
Breaking in trekking boots properly — buying boots too close to departure and skipping real break-in mileage is one of the most preventable causes of a disrupted trek.
12. Should I build buffer days into my schedule?
Yes, strongly recommended — particularly around the Jomsom-Pokhara flight if you're using it, since weather delays and cancellations are common, and an immediate onward international flight right after your planned trek end date leaves little room for disruption.
13. Do I need any specific vaccinations for this trek?
Requirements vary by home country and individual health history — a travel medicine consultation 2-3 months before departure is the right way to confirm current, personalized vaccination guidance rather than relying on generic advice.
14. What's the single most important preparation step for a first-time high-altitude trekker?
Understanding the acclimatization rules before departure — particularly the roughly 300-500m per night guideline above 3,000m and the importance of the Manang rest day — so that decisions on the trail are informed rather than improvised under the pressure of an ambitious schedule.
Final Thoughts on how to Prepare for Annapurna Circuit
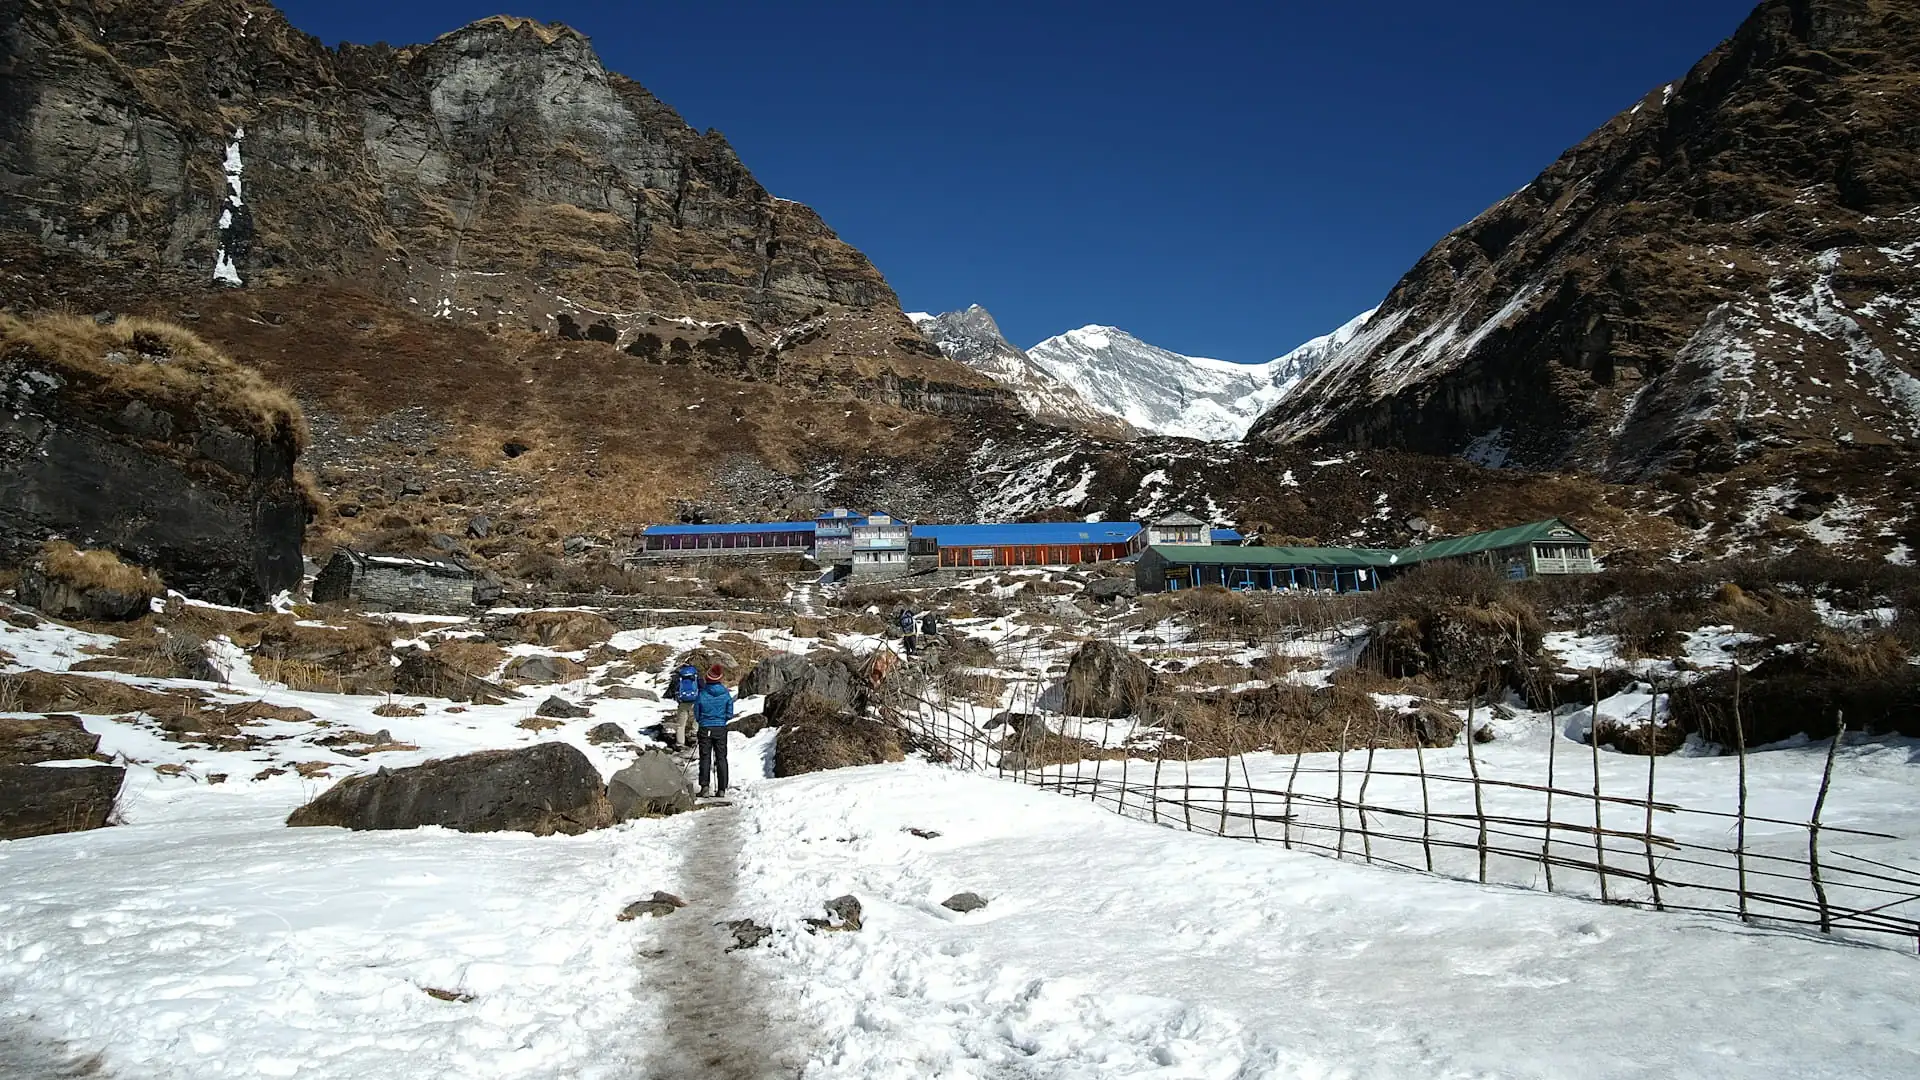
Good preparation for the Annapurna Circuit isn't about eliminating every variable — weather, trail conditions, and your own body's individual response to altitude will always carry some unpredictability.
What good preparation actually does is remove the avoidable failure points: the visa sorted months in advance rather than panicked about at the airport, the boots broken in over dozens of training miles rather than blistered on day two, the insurance policy checked for altitude coverage before it's needed rather than discovered inadequate during an emergency, the fitness built steadily rather than crammed in the final weeks.
Handle each of the steps above with real lead time, and what's left when you actually arrive at Besisahar is exactly what the trek should be about — the walk itself, not the logistics behind it.