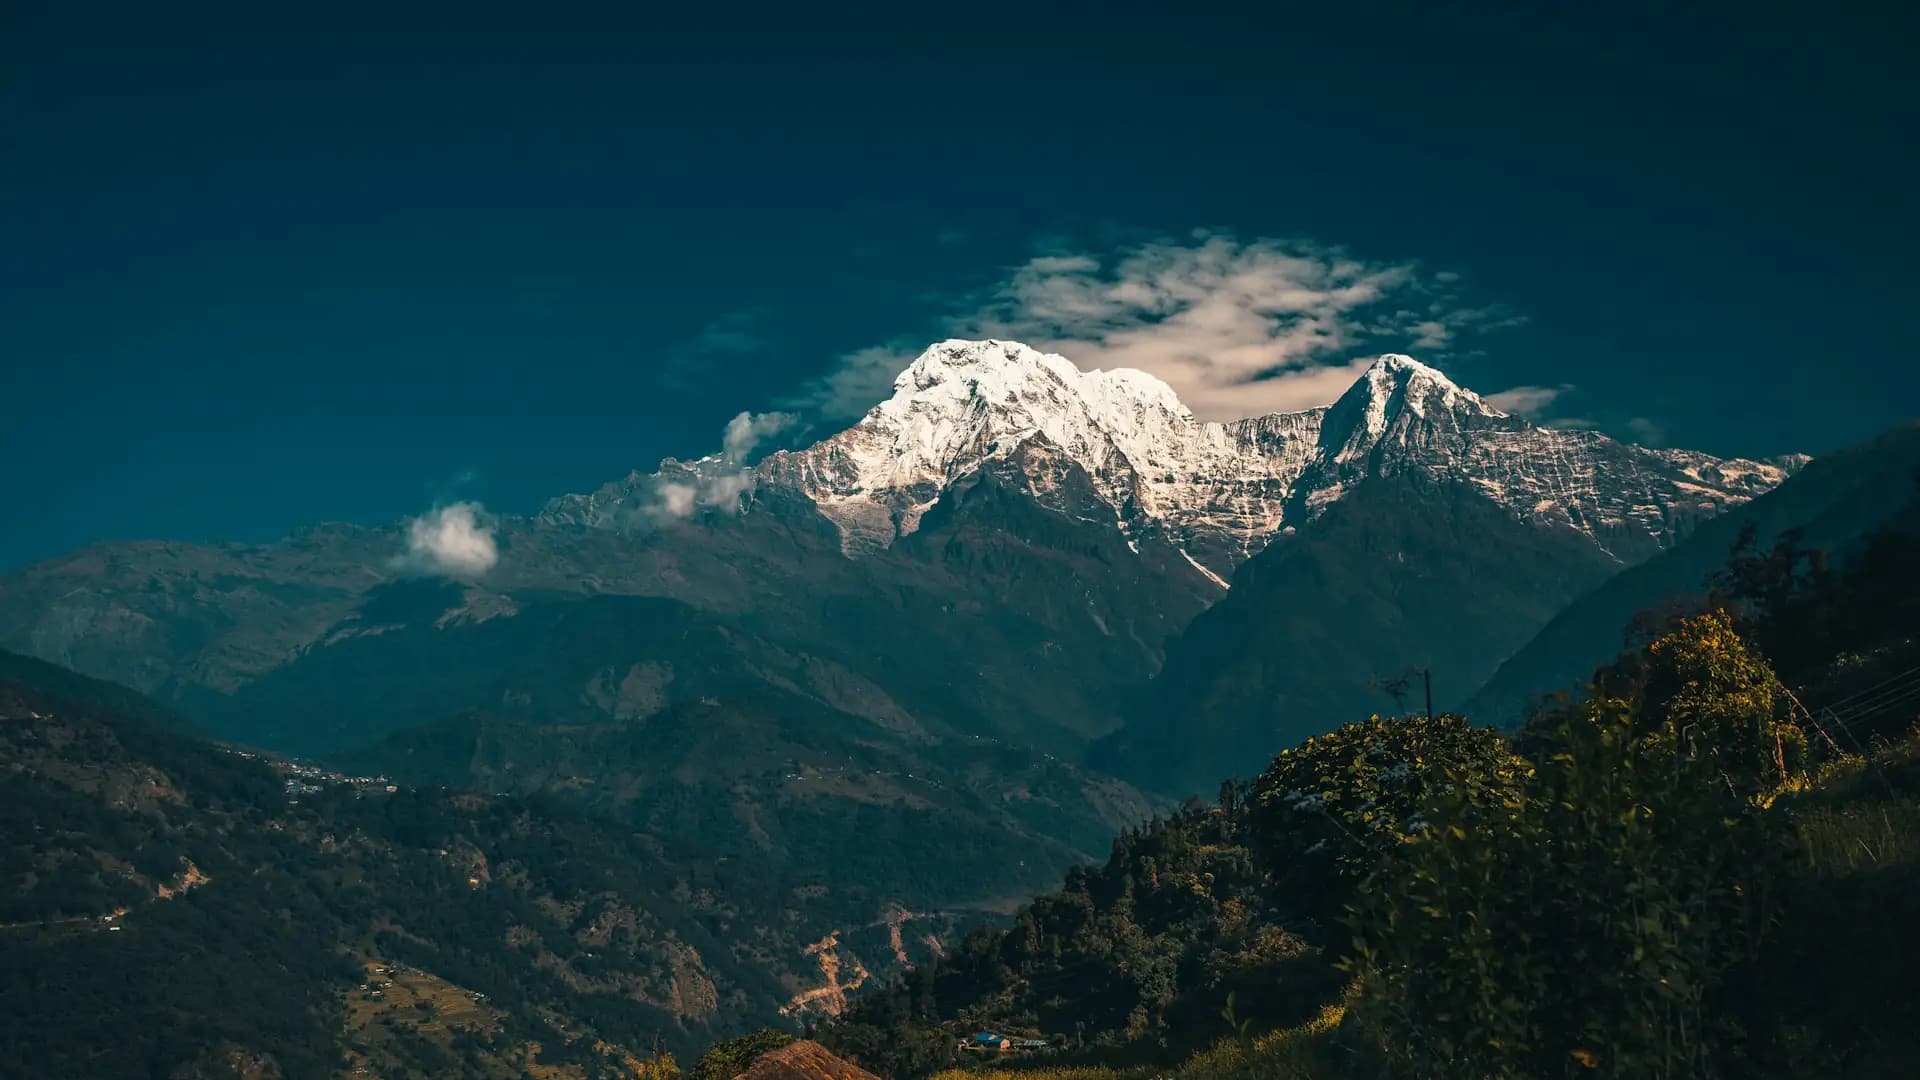
Annapurna Circuit Tips: What Every Trekker Must Know
Introduction to Annapurna Circuit Tips
The Annapurna Circuit rewards preparation more than almost any other trek in Nepal — it's long (100 to 145 miles for the classic route), crosses one of the highest trekking passes in the world at Thorong La (5,416 m), and passes through dramatically different climate zones in a single journey, from subtropical lower valleys to high-altitude desert.
Trekkers who go in with the right practical knowledge — how to pace the ascent, what the permit rules actually require in 2026, how the teahouse economy works, what genuinely happened in 2014 and why it still shapes safety planning today — consistently have a smoother, safer, more enjoyable trip than those who treat it as "just a long walk."
This guide collects the tips that matter most, organized by category, drawn from the trek's real terrain, regulations, and history.
Annapurna Circuit essential facts at a glance
Fact | Detail |
|---|---|
Highest point | Thorong La Pass, 5,416 m (17,769 ft) |
Total distance (classic route) | 160–230 km (100–145 miles) |
Total distance (jeep-assisted shorter route) | 100–120 km (62–75 miles) |
Typical duration | 12–20 days |
Standard direction | Manang to Muktinath (counterclockwise) |
Permits required | ACAP + licensed guide (mandatory since 2023) |
Best seasons | March–May (spring), late September–November (autumn) |
Total elevation gain/loss | ~4,107 m (13,474 ft) |
Tip 1: Trek Counterclockwise — It's Not a Preference, It's a Safety Standard
The single most important routing decision on the entire Circuit is direction, and there's a clear, well-established right answer: trek counterclockwise, starting in the Marsyangdi valley near Besisahar and finishing in the Kali Gandaki valley near Jomsom or Nayapul. This means crossing Thorong La from the Manang side (east) to the Muktinath side (west).
Why this matters so much:
The counterclockwise direction allows a far more gradual daily altitude gain heading into the pass, since the eastern approach climbs steadily over the better part of a week through acclimatization villages.
Crossing from Manang to Muktinath involves a shorter, safer final descent than the reverse direction.
Attempting the circuit clockwise — climbing steeply from Muktinath up to the pass in a single push — compresses the acclimatization schedule into a dangerously short window and is generally discouraged by guides and agencies alike.
This isn't a minor stylistic choice the way trekking clockwise around a shorter loop might be elsewhere — it's a genuine safety standard, and any registered agency, including Adventure Life Nepal, will default to the counterclockwise route for exactly this reason.
Tip 2: Understand Why the Circuit's Total Distance Is Confusing — And Plan Around the Real Range
Trekkers researching this trip often encounter wildly different mileage figures — anywhere from 96 kilometers to over 260 kilometers — and it's worth understanding why before booking, so your itinerary length matches your actual expectations.
The real explanation:
Some figures measure only walking distance; others fold in the driving distance to and from Kathmandu, which is a fundamentally different number.
Modern road development has extended a motorable road deep into both the Marsyangdi valley (as far as Manang) and the Kali Gandaki valley (through Muktinath and Jomsom), meaning many trekkers now jeep past the lower valley sections that were once walked in full.
The New Annapurna Trekking Trail (NATT) system offers alternative paths away from the road, adding distance back but improving the trekking experience considerably.
Practical planning takeaway:
Approach | Walking distance | Typical duration |
|---|---|---|
Full classic route, walking throughout | 160–230 km (100–145 miles) | 16–20 days |
Jeep-assisted through lower valley sections | 100–120 km (62–75 miles) | 10–14 days |
Decide upfront which version fits your timeline, and communicate that clearly with your agency — this single decision affects nearly every other planning detail, from cost to physical preparation needed.
Tip 3: Get Your Permits Right — The Rules Have Genuinely Changed
Permit requirements for the Annapurna Circuit have shifted meaningfully in recent years, and outdated information online is a genuine trap for trekkers researching independently.
What's required as of 2026:
Permit | Cost (foreign nationals) | Status |
|---|---|---|
ACAP (Annapurna Conservation Area Permit) | NPR 3,000 (~USD 23) | Mandatory |
TIMS Card | NPR 2,000 (~USD 15–20) | Enforcement inconsistent — confirm with your agency |
Licensed guide | Varies, often bundled | Mandatory since April 2023 — no exceptions |
The single biggest tip here: fully independent, unguided trekking is no longer legal on the Annapurna Circuit. This is a genuine change from the route's older reputation as a classic independent-trekker destination, and travelers planning based on older blog posts or guidebooks describing solo, guideless trekking are working from outdated information. A licensed guide, booked through a registered agency, is now a legal requirement, not a recommendation.
Where to sort permits: Both permits can be arranged in Kathmandu or Pokhara before departing for Besisahar, and in practice, the overwhelming majority of trekkers have this handled directly by their trekking agency as part of a booked package — removing the need to personally navigate permit offices or online portals.
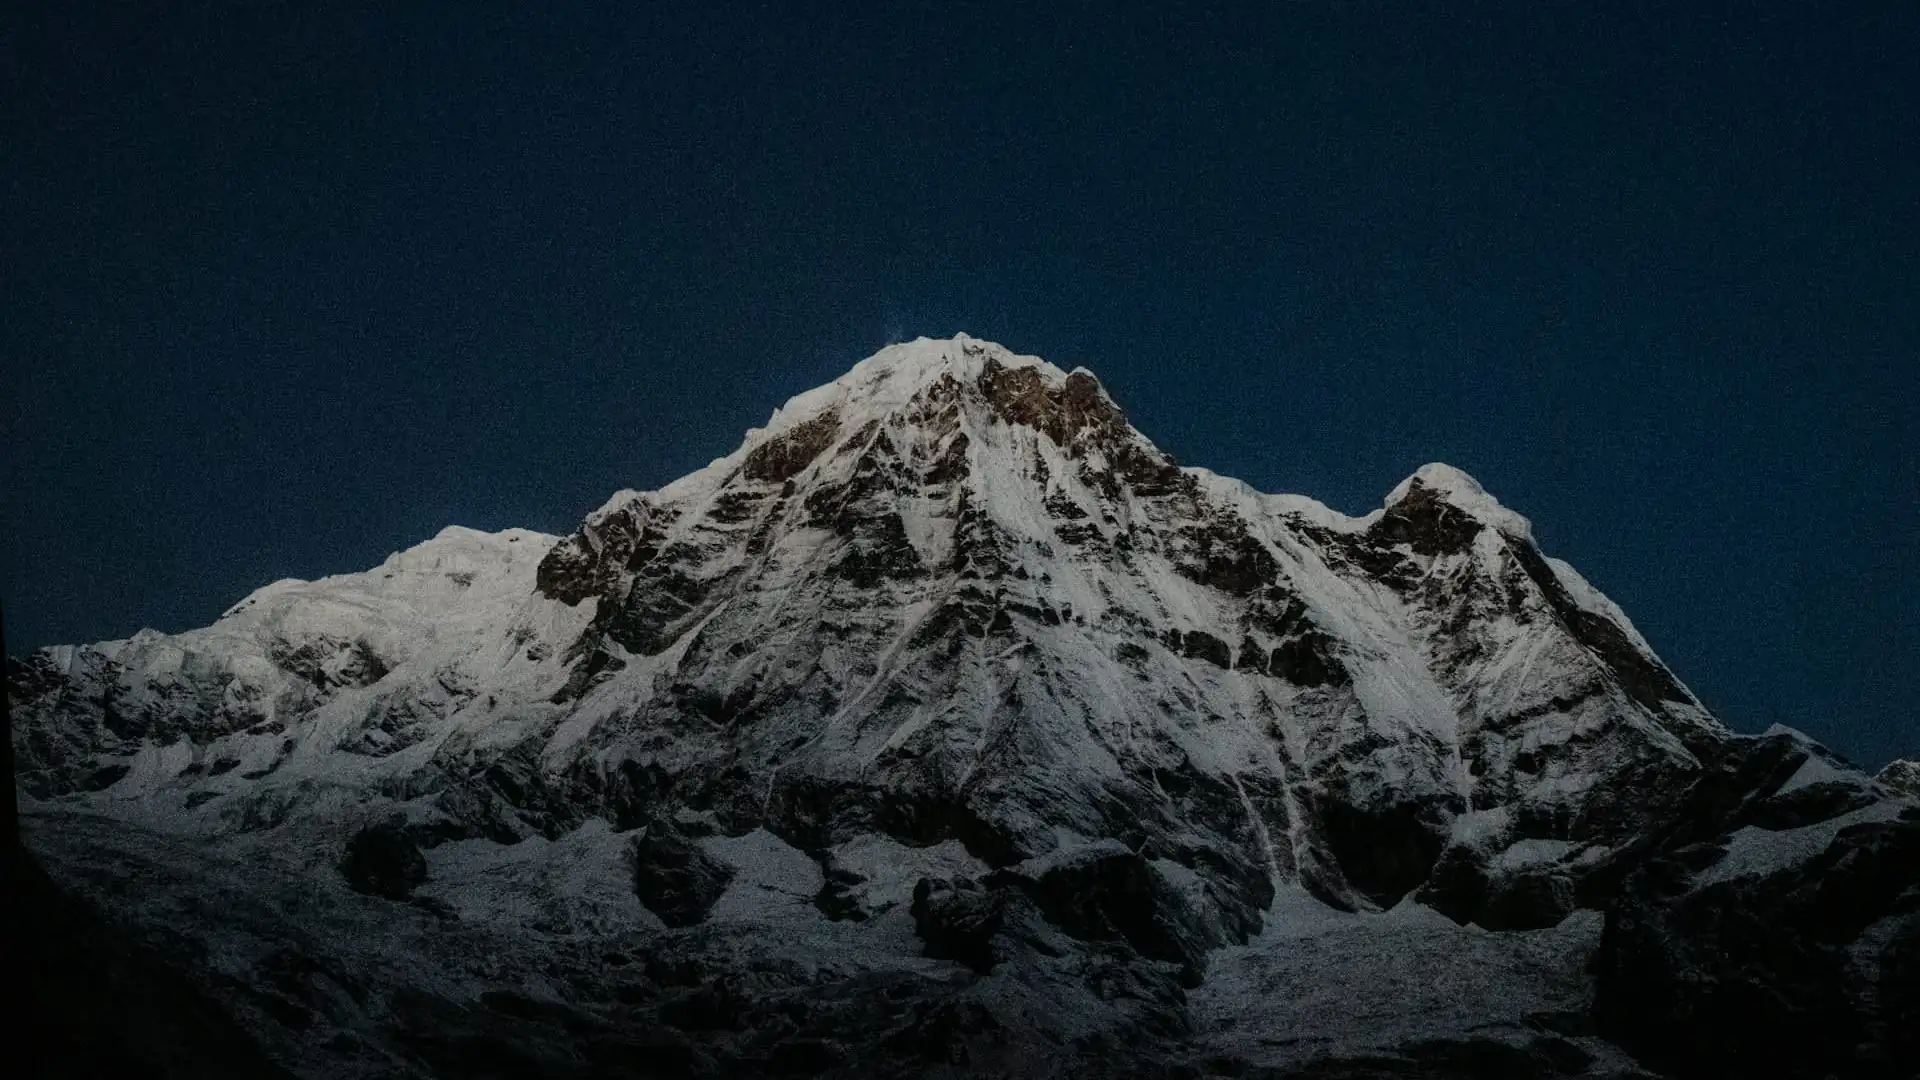
Tip 4: Build Real Acclimatization Days Into Your Itinerary — Don't Let Anyone Talk You Out of Them
The Circuit's standard itinerary includes dedicated rest days at Manang (3,519 m) specifically to allow the body time to adjust before the final push toward Thorong La. This is not padding to extend the trip length artificially — it's a core safety mechanism.
Why this matters:
Acute Mountain Sickness (AMS) risk is driven far more by ascent rate than by general fitness level. A genuinely fit trekker who moves too fast is just as vulnerable as a less athletic trekker who paces themselves properly.
The commonly used mountaineering guideline for altitude above 3,000 meters is to avoid increasing sleeping altitude by more than roughly 300 to 500 meters per day, with a rest day built in approximately every 1,000 meters.
Skipping or shortening these rest days to save time is one of the most common causes of altitude sickness and failed crossings on this specific trek.
Practical tip: On your Manang rest day, don't spend the entire day resting in bed — the standard "climb high, sleep low" acclimatization strategy actually recommends a moderate hike to a higher elevation during the day (there are several short excursions around Manang suited to this), followed by returning to sleep at Manang's lower altitude overnight.
This active approach to rest days genuinely improves acclimatization compared to complete inactivity.
Tip 5: Choose Thorong Phedi or High Camp Deliberately — Know the Trade-Off
Before crossing day, trekkers face a genuine choice between staying at Thorong Phedi (4,450–4,525 m) or continuing a further hour to ninety minutes up to High Camp (~4,850 m).
Option | Trade-off |
|---|---|
Thorong Phedi | Longer, harder crossing day; lower, more oxygen-rich sleeping altitude, generally better sleep |
High Camp | Shorter crossing day; sleeping at a higher, thinner-air altitude the night before the hardest physical effort of the trek |
Tip: Neither option is objectively correct — it depends on how your body has responded to altitude up to that point. If you've experienced any AMS symptoms on the approach, Thorong Phedi's lower sleeping altitude is generally the more conservative, safer choice.
If you've acclimatized well and want a shorter final day, High Camp can work well — but discuss this decision with your guide rather than defaulting to whichever option a fellow trekker chooses.
Tip 6: Start Crossing Day Early — Before Dawn, Not After
Crossing day typically begins between 4:00 and 5:30 a.m., in full darkness, with headlamps. This early start isn't tradition for its own sake — it's a practical necessity.
Why the early start matters:
Winds at the pass tend to strengthen significantly by mid-to-late morning.
Starting before dawn gives trekkers the best chance of summiting and beginning the descent before conditions deteriorate.
Weather at 5,416 meters can change quickly, and an early start builds in a genuine safety margin against afternoon weather shifts.
Practical tip: Prepare your gear the night before crossing day — headlamp charged or with fresh batteries, layers laid out, water bottles filled — since fumbling with gear in a cold, dark teahouse room at 4:00 a.m. wastes valuable early-morning time and cold-hand dexterity.
Tip 7: Take the 2014 Disaster Seriously — Weather Awareness Isn't Optional
On October 14, 2014, a sudden and severe blizzard struck the Annapurna region, catching hundreds of trekkers on or near Thorong La during peak post-monsoon trekking season. The storm resulted from the remnants of Cyclone Hudhud merging with an upper-level weather trough over the Himalayas, producing an extreme, fast-moving snow event that dropped roughly 1.8 meters of snow in a matter of hours in parts of the region.
Many trekkers caught in the open, with visibility reduced to near zero, became disoriented while trying to descend and succumbed to exposure and hypothermia. The confirmed death toll was 43 people — trekkers, guides, and porters from at least 11 countries — making it the worst trekking disaster in Nepal's history at the time.
What changed as a result, and what it means for you:
Improved weather monitoring and communication systems across the Annapurna region.
Stronger emphasis on guided trekking rather than fully independent travel — a factor that also fed into the current mandatory-guide regulation.
Greater emphasis among trekking agencies on building weather contingency and rapid-descent planning directly into Thorong La crossing days.
Practical tip: Trust your guide's judgment on crossing-day timing without pushback, even if it means delaying a day. A clear sky at the start of a walk is not a guarantee of stable conditions at 5,416 meters several hours later — this is precisely the lesson the 2014 disaster left behind, and it's a genuinely non-negotiable part of trekking this route responsibly.
Tip 8: Understand the Teahouse System Before You Arrive
Every night on the Circuit is spent in a teahouse — a small, family-run guesthouse offering a basic private room and home-cooked meals. Understanding how this system actually works prevents confusion and frustration on the trail.
The core rule: Teahouse rooms are frequently offered free or heavily discounted on the condition that trekkers eat all their meals — breakfast, lunch, and dinner — at that same lodge. This isn't a scam; it's the standard economic arrangement that keeps the entire teahouse system functioning, since lodge owners make their real margin on food rather than room rates.
Practical tips:
Don't try to game this system by booking the cheapest room and eating elsewhere — it's socially frowned upon and often pointless anyway, since a lodge that senses this will simply raise the room rate to compensate.
Guides typically negotiate this arrangement automatically as part of a booked package, so let your guide handle room and meal logistics rather than negotiating independently.
Expect room quality to decline somewhat with altitude — attached bathrooms become rarer above roughly 4,000 meters, and hot showers become genuinely limited or unavailable at the highest villages.
Altitude zone | Typical accommodation standard |
|---|---|
Lower villages (Besisahar to Chame) | Basic to comfortable, some attached bathrooms |
Mid-altitude (Pisang, Manang) | Basic, shared bathrooms more common |
High altitude (Thorong Phedi, High Camp) | Very basic, cold, shared facilities |
Tip 9: Prices Rise With Altitude — Budget For It, Don't Be Surprised By It
Everything above the mid-valley villages has to be carried in by porter or mule, since there's no road access to the highest stretches of the trail — and food, drinks, and services are priced accordingly.
Item | Lower villages | Higher altitude (Manang and above) |
|---|---|---|
Dal bhat | $4–$6 | $6–$10 |
Western-style meals | $5–$8 | $8–$14 |
Tea/coffee | $1–$2 | $2–$4 |
Bottled water | $1–$2 | $3–$5 |
Practical tip: Stick primarily to dal bhat and local dishes rather than Western-style menu items — it's consistently the best value option, and most teahouses offer unlimited refills at no extra charge, making it genuinely effective fuel for long trekking days. This single habit is one of the most effective ways to control food costs across a 12-to-20-day trek without sacrificing calories.
Also budget for daily incidentals: hot showers ($2–$5), device charging ($1–$3 per charge), and Wi-Fi ($2–$5) all add up over a multi-week trek — a reasonable daily allowance for these extras is roughly $15–$25 on top of accommodation and food.
Tip 10: Carry Cash, in Small Denominations
Higher-altitude teahouses, particularly above Manang, are far less likely to accept cards or make change for large notes. Carrying Nepali rupees in small denominations, withdrawn or exchanged in Kathmandu or Pokhara before departing for Besisahar, avoids a genuinely common and avoidable inconvenience partway through the trek, when there's no realistic way to access more cash.
Tip 11: Pack for Genuinely Extreme Temperature Swings
The Circuit spans an unusually wide temperature range within a single trek — from warm, humid lower valleys to well-below-freezing conditions at Thorong Phedi, High Camp, and the pass itself, even during the main trekking seasons.
Essential cold-weather items:
Item | Why it matters |
|---|---|
Proper down jacket | Pre-dawn temperatures at the pass regularly drop well below freezing |
Layered thermal base layers | Core layering strategy for the wide temperature range |
Windproof outer shell | Wind chill at 5,416 meters significantly amplifies perceived cold |
Warm hat, gloves, buff | Extremities are most vulnerable to cold on crossing day |
Trekking poles | Genuinely valuable on both the steady climb to the pass and the long, knee-jarring descent to Muktinath |
Sunglasses/glacier glasses | Snow glare at altitude can cause real eye strain or snow blindness without protection |
Practical tip: Layer your clothing the night before crossing day rather than figuring it out in the cold pre-dawn departure — you'll want to add and remove layers as you climb and as the sun rises, and having your system already understood and organized saves time and discomfort at altitude.
Tip 12: Hydrate More Than Feels Necessary
The dry, thin air at altitude increases fluid loss through breathing alone, on top of normal exertion-related sweat loss — and dehydration compounds altitude sickness risk. A reasonable target is 3 to 4 liters of water daily above 3,000 meters.
Practical tip: Carry a reusable water bottle and a purification method (tablets or a filter) rather than relying entirely on purchased bottled water, both for cost reasons (bottled water prices rise sharply with altitude) and for environmental reasons, given the genuine challenge of managing plastic waste disposal in remote mountain villages.
Tip 13: Eat More Than Your Appetite Tells You To
Altitude commonly suppresses appetite even as the body's energy demands increase — a pattern that surprises many first-time high-altitude trekkers, who assume reduced hunger means reduced need. It doesn't.
Practical tip: Make a conscious effort to eat full meals even when you don't feel particularly hungry, particularly in the days leading up to and including the Thorong La crossing. Carrying some high-calorie snacks from home (chocolate, energy bars, dried fruit) as a supplement to teahouse meals is a reasonable backup for days when appetite is especially low.
Tip 14: Recognize AMS Symptoms Early — And Actually Report Them
Early Acute Mountain Sickness symptoms include headache, nausea, dizziness, loss of appetite, and disrupted sleep. The single most important practical tip here isn't recognizing these symptoms in the abstract — it's actually telling your guide when you experience them, rather than downplaying them out of a desire to keep pace with the group or avoid seeming weak.
Why this matters so much on this specific trek: More severe forms — High Altitude Pulmonary Edema (HAPE) and High Altitude Cerebral Edema (HACE) — are life-threatening and require immediate descent. Early symptoms are genuinely easy to manage with rest, hydration, or a short pause in ascent; symptoms that are ignored and allowed to progress become considerably harder to manage safely.
AMS response | When appropriate |
|---|---|
Rest, hydrate, monitor | Mild headache, slight nausea |
Stop ascending, consider extra rest day | Persistent symptoms not improving with rest |
Immediate descent | Worsening symptoms, confusion, severe headache, breathing difficulty |
Practical tip: A guide experienced in recognizing AMS symptoms, and willing to alter the itinerary or recommend descent if needed, is one of the most valuable safety resources on this crossing — trust that judgment rather than pressuring your guide to maintain a fixed schedule if symptoms genuinely warrant a change of plan.
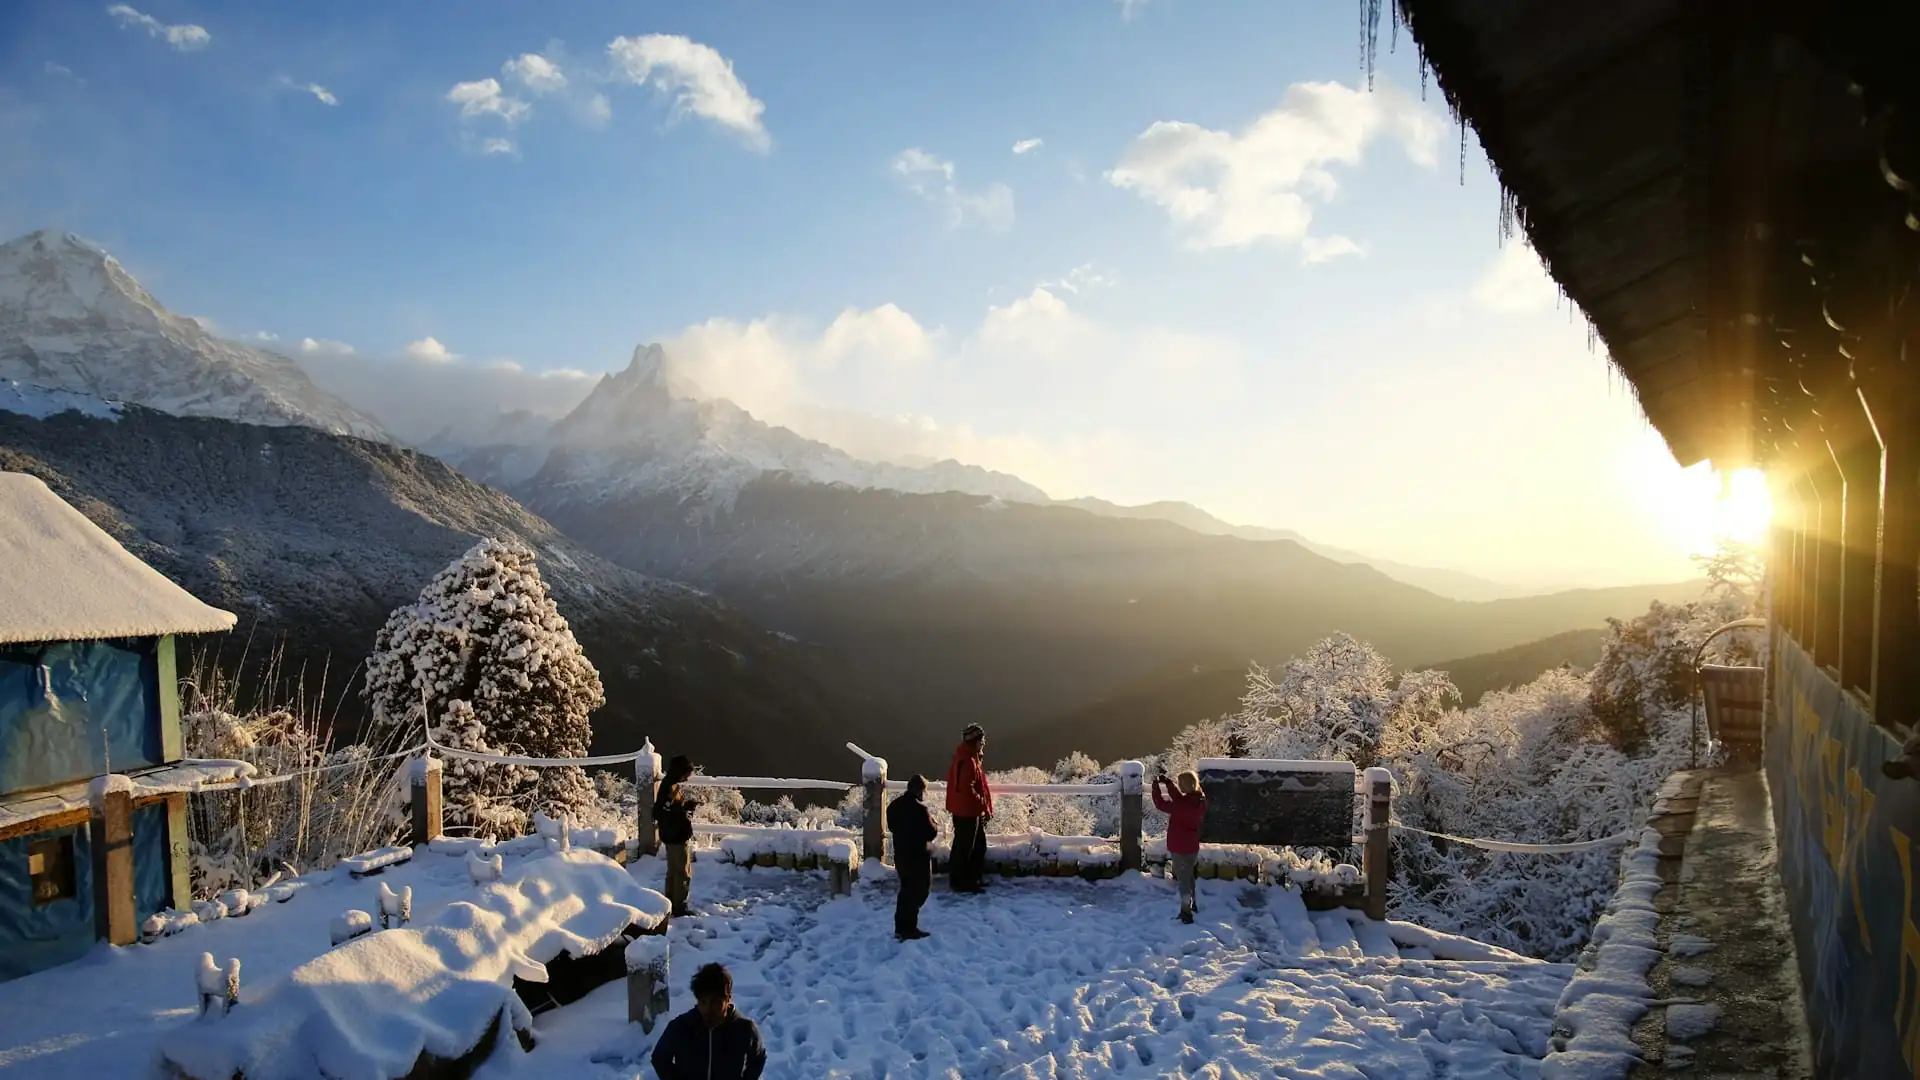
Tip 15: Choose Your Season Deliberately
Timing meaningfully affects both safety and enjoyment on this specific trek, given the extreme altitude involved.
Season | Conditions | Recommendation |
|---|---|---|
Spring (Mar–May) | Warming, generally stable, occasional late snow at altitude | Recommended |
Autumn (late Sep–Nov) | Clearest skies, most stable weather overall | Most recommended |
Winter (Dec–Feb) | Cold, risk of pass closure due to heavy snow | Experienced trekkers only |
Monsoon (Jun–Aug) | Wet, low visibility, landslide risk on approach | Not recommended |
Practical tip: Autumn is widely considered the best overall season, but it's also worth remembering this was the season of the 2014 disaster — "best season" does not mean "risk-free season," and weather awareness matters regardless of which month you choose.
Tip 16: Understand the Landscape Shift — And Prepare Mentally, Not Just Physically
Part of what makes the Thorong La crossing so memorable is the dramatic shift in scenery on either side, and knowing this in advance helps set the right expectations. The Manang side is comparatively green, sheltered, and dotted with Tibetan Buddhist villages, monasteries, and yak pastures. The Muktinath and Mustang side, by contrast, sits in the rain shadow of the Annapurna and Dhaulagiri massifs, producing a stark, arid, wind-carved landscape that looks — and geologically essentially is — an extension of the Tibetan Plateau.
Practical tip: Don't expect the descent side to look anything like the ascent side. Trekkers who know this in advance tend to appreciate the dramatic contrast rather than being caught off guard by it, and it's genuinely one of the trek's most talked-about highlights among past trekkers.
Tip 17: Budget Time for Muktinath, Not Just the Pass Itself
Muktinath, the first major village after the descent from Thorong La, is one of the most important pilgrimage sites in the Himalayas for both Hindus and Buddhists — home to the Muktinath Temple complex, considered sacred by Hindus as one of the 108 Divya Desams associated with Vishnu, and by Buddhists as an important site connected to Guru Rinpoche.
Practical tip: Many trekkers, focused entirely on the physical achievement of crossing the pass, rush straight through Muktinath without allowing time to actually visit the temple complex. Building in even a short visit adds meaningful cultural and spiritual context to what is already, for most trekkers, one of the most significant days of the entire trip — worth discussing with your guide when planning the crossing-day and following-day schedule.
Tip 18: Consider the Optional Side Trips — But Know What They Add
Several popular detours meaningfully change the trek's overall length and character, and deciding on these in advance (or leaving genuine flexibility for them) is worth building into your planning.
Side trip | Added distance | Added time |
|---|---|---|
Tilicho Lake (from Manang) | ~25–30 km (15–18 miles) | 3–4 days |
Poon Hill (near Ghorepani, on the western descent) | ~5–7 km (3–4 miles) | 1 day |
Nar Phu Valley (restricted area, branches near Chame) | 40+ km (25+ miles) | 4–7 days |
Practical tip: Tilicho Lake, one of the highest lakes in the world at 4,919 meters, is the most popular add-on and genuinely worth the extra days if your schedule allows — but it requires solid acclimatization from the days already spent reaching Manang, so it's not a decision to make impulsively partway through the trek without discussing readiness with your guide.
Tip 19: Get Travel Insurance With Real High-Altitude Coverage — Don't Skip This
Given that Thorong La reaches 5,416 meters, travel insurance with coverage for emergency helicopter evacuation is essential, not optional, for this specific trek. Costs vary by provider, home country, and coverage level, but should be treated as a non-negotiable line item in your trip budget.
Practical tip: Confirm specifically that your policy covers evacuation at altitudes up to at least 5,500–6,000 meters (with some buffer above the pass's actual elevation), since some standard travel insurance policies exclude high-altitude trekking activities by default or cap coverage at a lower altitude threshold than this trek requires. Read the policy details carefully rather than assuming a general travel policy automatically covers this activity.
Tip 20: Break In Your Boots Before You Arrive
New, unbroken trekking boots are one of the most common and entirely preventable causes of blisters and foot pain severe enough to genuinely disrupt a multi-week trek. Given the Circuit's length and the extensive descent from Thorong La to Muktinath in particular — steep, sometimes loose terrain that's hard on feet in general — properly broken-in footwear matters more here than on shorter treks.
Practical tip: Wear your trekking boots on several training hikes of increasing length in the weeks before departure, rather than relying on boots fresh out of the box or rented unfamiliar footwear picked up in Kathmandu just before starting the trek.
Tip 21: Train for Sustained, Multi-Day Effort — Not a Single Hard Day
The Circuit's genuine physical demand isn't any single dramatic obstacle beyond the pass crossing itself — it's 12 to 20 consecutive days of sustained walking, much of it at meaningfully high altitude with significant elevation change day after day.
Practical training tip: Rather than training for a single peak-effort day, build training that includes back-to-back exertion days — even at a modest level — which more accurately prepares the body for the trek's actual demand pattern than isolated single-day training sessions. Start 8 to 12 weeks before departure, with a taper in the final week to arrive at the trailhead rested rather than fatigued.
Tip 22: Respect the Descent — It's Harder Than It Looks
The descent from Thorong La to Muktinath drops over 1,600 meters in a single afternoon, typically taking three to four hours. This descent is, in its own way, as demanding as the ascent: the steep, often loose or icy terrain is genuinely hard on the knees, and the rapid elevation loss after hours of high-altitude exertion leaves many trekkers more fatigued on the way down than they expected.
Practical tip: Use trekking poles specifically on this descent, take it at a controlled pace rather than rushing to reach Muktinath quickly, and recognize that arriving at Muktinath after 7 to 10 total hours of walking is a genuinely significant physical accomplishment — pace accordingly rather than treating the descent as an afterthought to the "real" achievement of reaching the pass.
Tip 23: Don't Underestimate the Cultural Value of the Route — Slow Down Where It Counts
Annapurna Circuit isn't purely a physical challenge — it passes through genuinely distinct cultural zones, from lower-valley villages with Hindu and mixed cultural influences to the Tibetan Buddhist communities of Manang and the high Mustang-adjacent villages near Muktinath.
Practical tip: Build in enough time, particularly around Manang and the acclimatization days there, to actually engage with the local culture rather than treating rest days purely as physical recovery time — monasteries, mani walls, and chortens along the route carry genuine religious and cultural significance worth taking time to appreciate, not just photograph in passing.
Tip 24: Know What a Guided Package Actually Includes — And Ask What's Extra
Understanding exactly what's bundled into a guided package price versus what costs extra prevents budget surprises partway through the trek.
Usually included | Usually NOT included |
|---|---|
ACAP permit | International flights |
Licensed guide | Nepal visa fee |
Porter (if selected/upgraded) | Travel/medical insurance |
Teahouse accommodation | Personal trekking gear |
Three daily meals on the trail | Alcoholic drinks, bottled water above basic allowance |
Ground transport to/from trailhead | Hot showers, Wi-Fi, device charging at altitude |
Kathmandu–Pokhara transfer (varies by package) | Tips for guide/porter |
Practical tip: Confirm tipping expectations with your agency before departure — a common guideline is $5–$15 per day for a guide and $5–$10 per day for a porter, typically given as a lump sum on the final evening of the trek, working out to roughly $100–$300 total for a guide and $50–$150 for a porter over a full trek.
Tip 25: Consider a Porter — Even If You're Fit Enough to Carry Your Own Gear
Hiring a porter isn't purely about physical necessity; it's a genuine trade-off worth considering even for fit trekkers.
Why it's worth considering:
A single porter typically carries gear for two trekkers, meaningfully reducing the per-person cost impact when traveling with a partner or friend.
Trekking with a lighter daypack rather than a full pack noticeably improves comfort and reduces fatigue over 12-to-20 consecutive days, particularly on the steepest stretches near the pass.
Porter wages ($18–$30/day) represent a genuinely important part of the local trekking economy, and hiring one is broadly regarded as good practice for supporting the communities that depend on trekking tourism.
Tip 26: Time Your Photography Around the Early Morning Light
Both the pass itself and the broader landscape along the Circuit tend to offer the clearest visibility and most striking light in the early morning hours, before afternoon cloud buildup and haze become more common — a pattern true not just on crossing day but throughout the trek.
Practical tip: If photography matters to you, plan key viewpoint stops for the morning where your itinerary allows flexibility, rather than assuming afternoon light will be equally reliable.
Tip 27: Don't Rush the Trek to "Beat" a Self-Imposed Schedule
A genuinely common mistake among trekkers with limited vacation time is compressing the itinerary beyond what's safely recommended, cutting rest days or pushing bigger daily distances to fit a fixed return flight date.
Practical tip: If your available time is genuinely limited, choose the shorter, jeep-assisted version of the route (100–120 km / 62–75 miles, roughly 10–14 days) rather than attempting the full classic route (160–230 km / 100–145 miles) on a compressed, rushed schedule. Preserving proper acclimatization days is far more important to a safe, enjoyable trek than covering the maximum possible distance.
Tip 28: Trust Your Guide's Local Knowledge Beyond Just Route-Finding
A licensed guide on this trek brings value well beyond navigation — permit logistics, altitude monitoring, weather judgment, teahouse relationships, and cultural context all fall within a good guide's genuine expertise.
Practical tip: Ask questions throughout the trek rather than treating your guide purely as a functional necessity for permit compliance. Guides who've worked this route repeatedly, often over many seasons, carry detailed knowledge of specific trail conditions, weather patterns, and cultural context that meaningfully enriches the experience beyond simply reaching the destination safely.
Quick Reference: Top Tips Summary
For trekkers who want the condensed version, here's every tip from this guide in a single scannable list:
Trek counterclockwise (Manang to Muktinath) — this is a safety standard, not a preference.
Understand that total distance varies (100–145 miles classic, 62–75 miles jeep-assisted) and plan your itinerary length accordingly.
Book permits and a licensed guide through a registered agency — independent unguided trekking is no longer legal on this route.
Respect built-in acclimatization days at Manang; don't skip or shorten them.
Choose Thorong Phedi vs. High Camp deliberately based on how your body has responded to altitude so far.
Start crossing day before dawn (4:00–5:30 a.m.) — this is a weather-safety necessity, not tradition.
Take weather seriously on and around Thorong La — the 2014 disaster remains the defining lesson for this route.
Understand and respect the teahouse "eat where you sleep" system.
Budget for rising prices at altitude — stick to dal bhat for the best value.
Carry cash in small denominations; card acceptance is unreliable at altitude.
Pack a genuine layering system for extreme temperature swings.
Hydrate deliberately — 3–4 liters daily above 3,000 meters.
Eat more than your appetite suggests, especially near the pass.
Report AMS symptoms honestly and early; don't push through them to keep pace.
Choose autumn or spring for the most reliable conditions.
Prepare mentally for the dramatic landscape shift after the pass.
Budget time to actually visit Muktinath's temple complex, not just pass through.
Decide deliberately on side trips (Tilicho Lake, Poon Hill) rather than impulsively.
Get travel insurance with genuine high-altitude evacuation coverage confirmed.
Break in your boots weeks before departure.
Train for sustained multi-day effort, not a single hard day.
Respect the descent to Muktinath as much as the ascent to the pass.
Slow down for the cultural stops, particularly around Manang.
Confirm exactly what's included in your guided package, and what tipping is expected.
Consider hiring a porter, even if you're fit enough to carry your own gear.
Plan photography around early morning light where possible.
Don't compress your itinerary to fit a rigid schedule — choose the shorter route instead if time is limited.
Engage with your guide's expertise beyond basic navigation.
Frequently Asked Questions about Annapurna Circuit Tips
What's the single most important tip for the Annapurna Circuit?
Trek counterclockwise (Manang to Muktinath) and respect the built-in acclimatization days — these two factors do more for a safe, successful crossing than any other single decision.
Do I need a guide for the Annapurna Circuit in 2026?
Yes, without exception. Fully independent, unguided trekking has not been legal on this route since 2023.
How dangerous is Thorong La Pass?
Under normal conditions with proper acclimatization, most trekkers cross safely. The 2014 disaster, which killed 43 people, remains the clearest historical reminder that sudden severe weather at this altitude is a genuine risk requiring respect, planning, and a willingness to delay if conditions warrant it.
What's the best season to trek the Annapurna Circuit?
Autumn (late September to November) generally offers the most stable weather, followed closely by spring (March to May). Winter is possible but significantly harder, and monsoon season is not recommended.
How much should I budget for tips?
A common guideline is $5–$15 per day for a guide and $5–$10 per day for a porter, working out to roughly $100–$300 total for a guide and $50–$150 for a porter across a full trek.
Should I stay at Thorong Phedi or High Camp before crossing?
It depends on how your body has responded to altitude so far. Phedi offers a lower, more comfortable sleeping altitude but a longer crossing day; High Camp shortens the crossing day but means sleeping higher the night before the hardest physical effort of the trek.
Is travel insurance really necessary for this specific trek?
Yes — given that Thorong La reaches 5,416 meters, insurance with confirmed high-altitude trekking and emergency helicopter evacuation coverage is essential, not optional.
How long does the crossing itself take on Thorong La day?
Most trekkers take 7 to 10 hours total, including the ascent from Thorong Phedi or High Camp to the pass and the descent to Muktinath.
Can I shorten the Circuit if I have limited time?
Yes — using jeep transport through the lower Marsyangdi valley sections and starting from Dharapani or Chame rather than Besisahar can bring the total walking distance down to roughly 62–75 miles and 10–14 days, while still preserving the trek's core highlights.
What's the biggest mistake first-time Circuit trekkers make?
Rushing the itinerary to fit a fixed schedule, whether by skipping acclimatization days or attempting a compressed version of the full classic route rather than choosing the shorter, jeep-assisted alternative.
Conclusion on Annapurna Circuit Tips
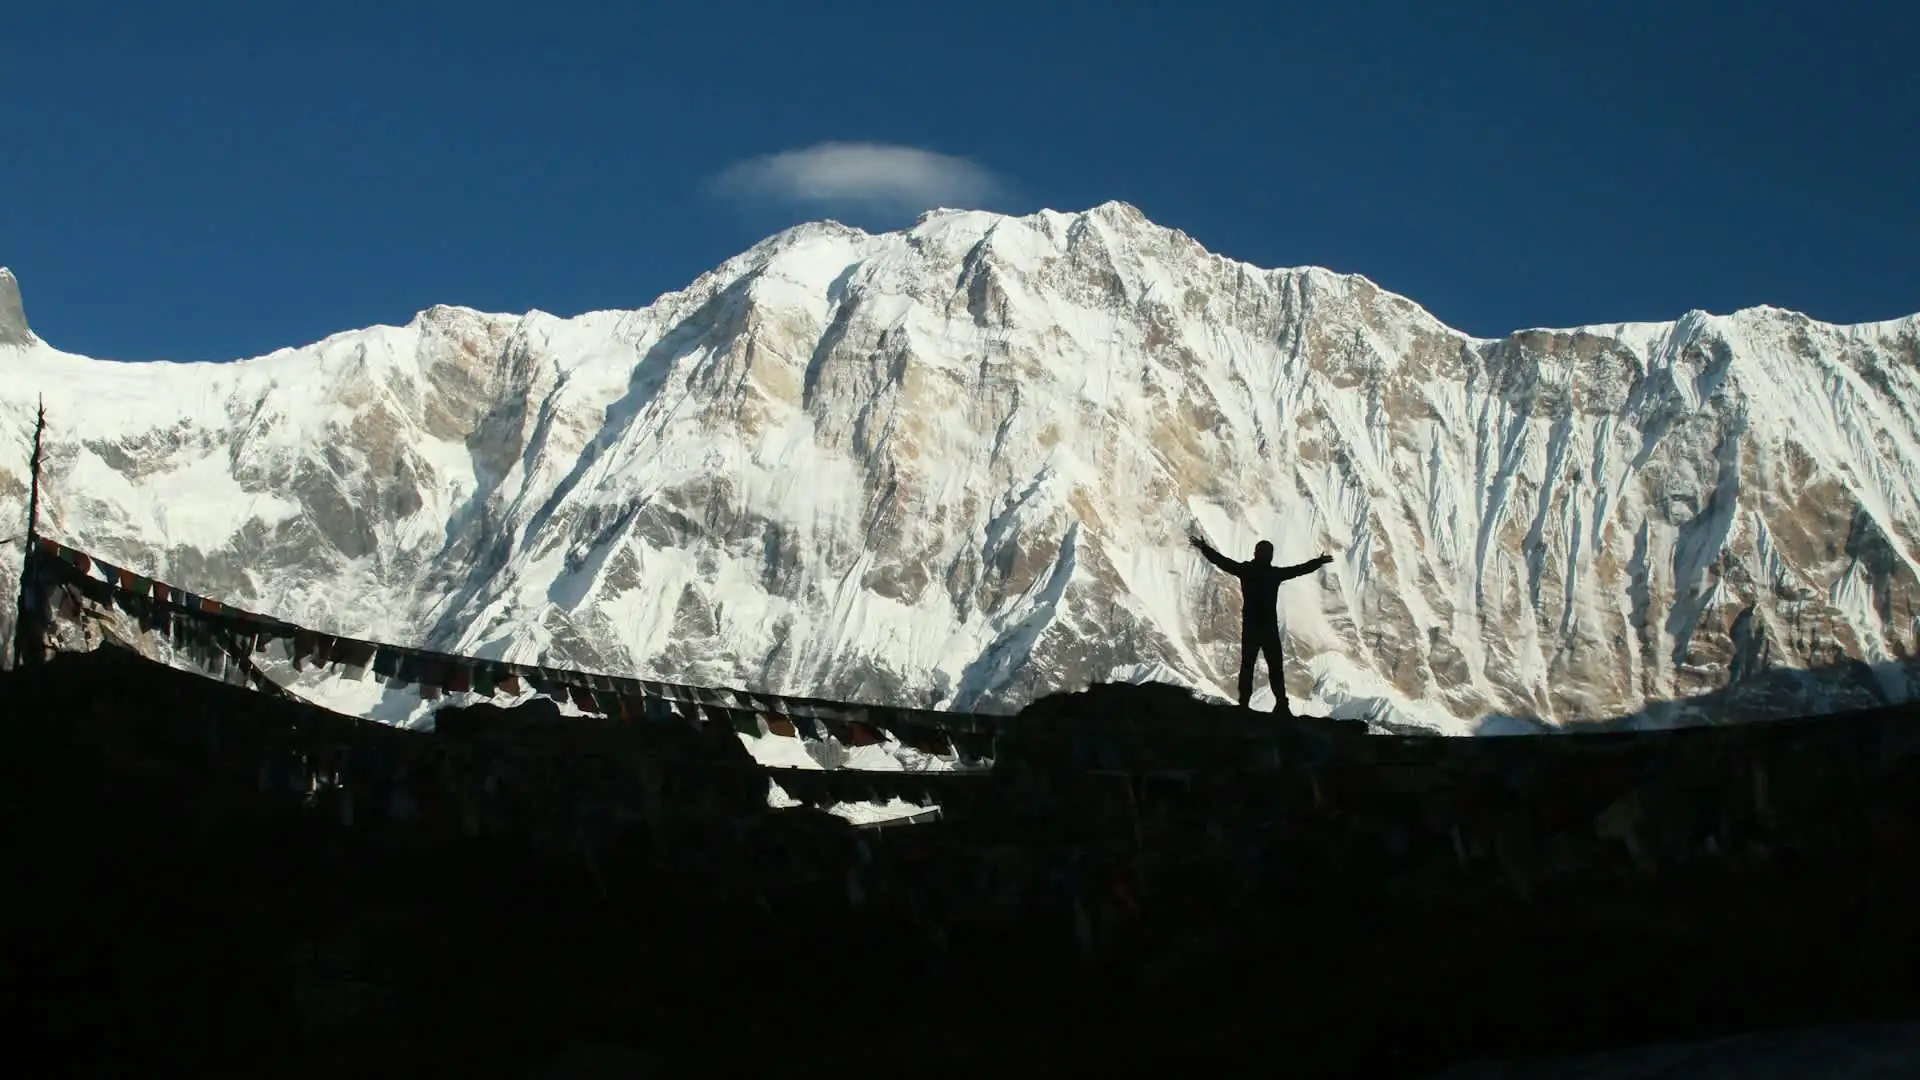
The Annapurna Circuit rewards trekkers who treat preparation and route knowledge as seriously as physical fitness — understanding why counterclockwise is the standard direction, why the 2014 disaster still shapes weather protocol today, how the teahouse economy actually works, and why the trek's total mileage varies so much all directly translate into a safer, smoother, more genuinely enjoyable experience on the trail.
None of these tips require prior Himalayan trekking experience to apply — they simply require going in with accurate, current information rather than outdated assumptions about a route that has changed meaningfully in recent years, from road development to permit regulation to safety protocol.
Adventure Life Nepal builds every Circuit itinerary around exactly this body of practical knowledge, so that by the time you're standing at 5,416 meters looking out over the Damodar Himal, the only thing left to think about is the view in front of you.